Step-by-Step Guide
1. Enable the Pabbly Integration in Atarim
Description:
Before connecting to Pabbly, you need to enable the integration and retrieve your API key from Atarim.
Instructions:
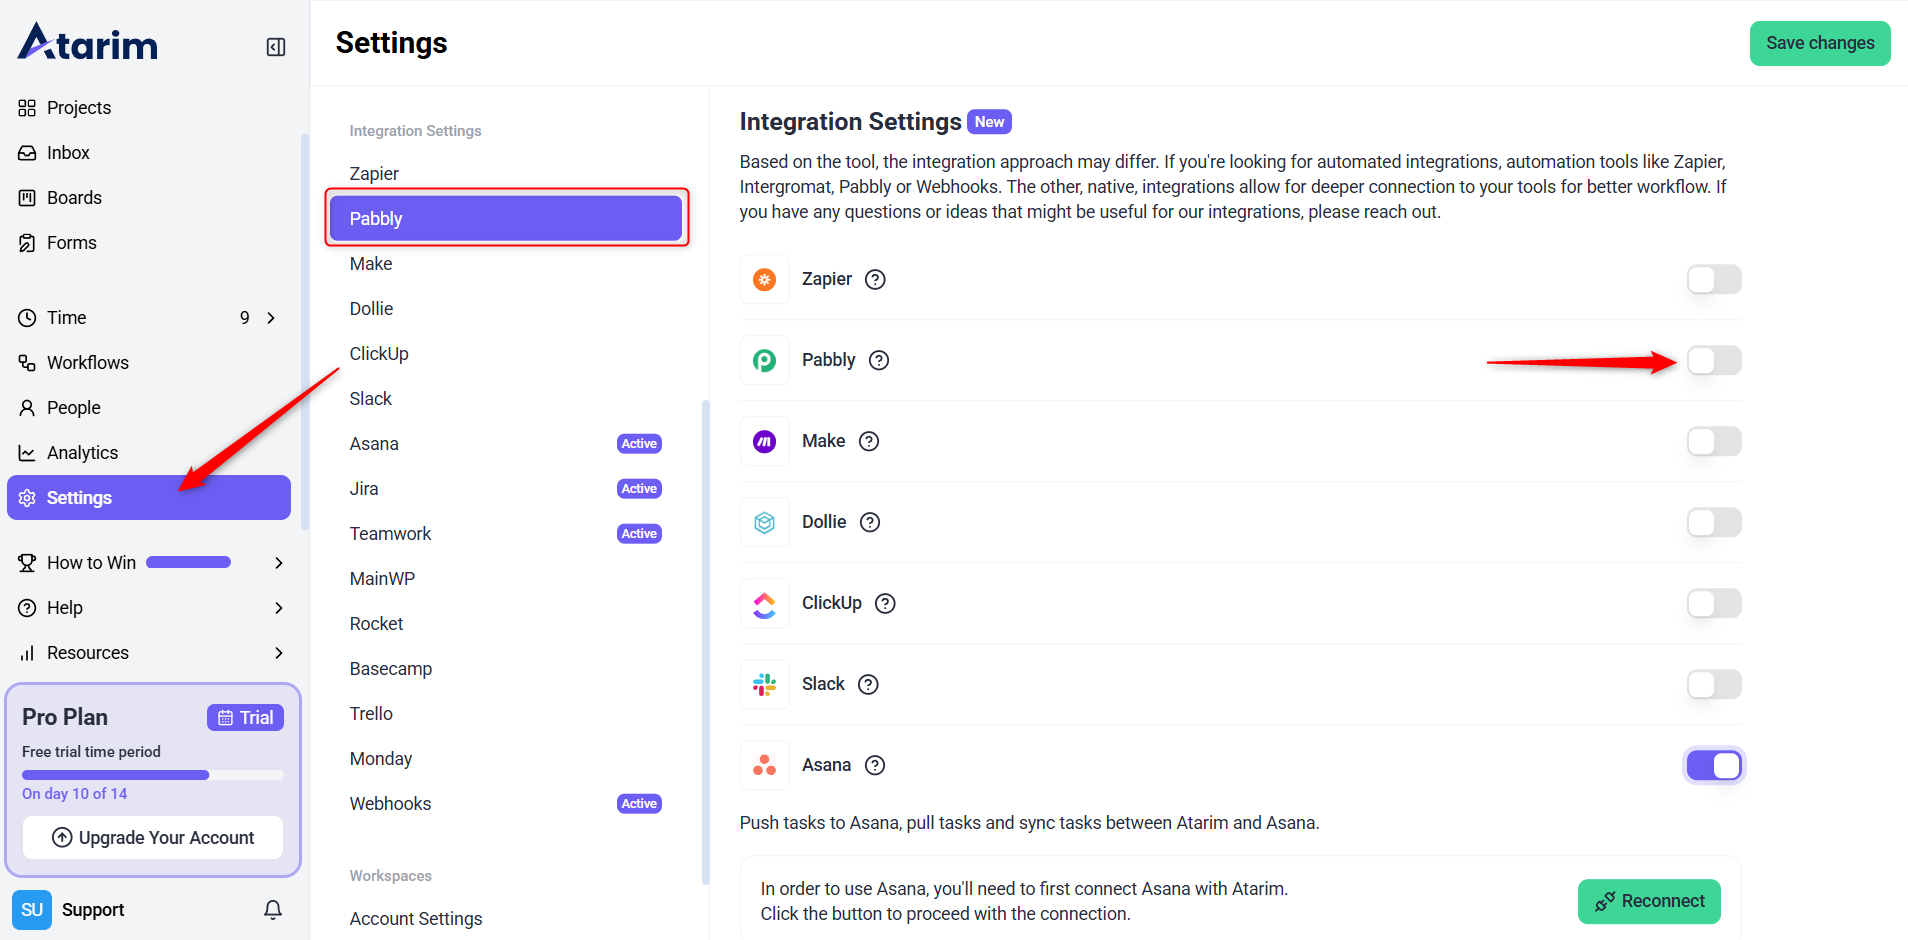
- Navigate to your Settings in Atarim.
- Go to the Integrations tab.
- Find Pabbly and toggle it ON.
- Your API Key will appear. Copy this for the next step.

Note: Pabbly integration is only available on Pro, Business, and Enterprise plans.
2. Add Atarim as a Connection in Pabbly
Description:
Now that you have your API key, you can connect Atarim to your Pabbly account.
Instructions:
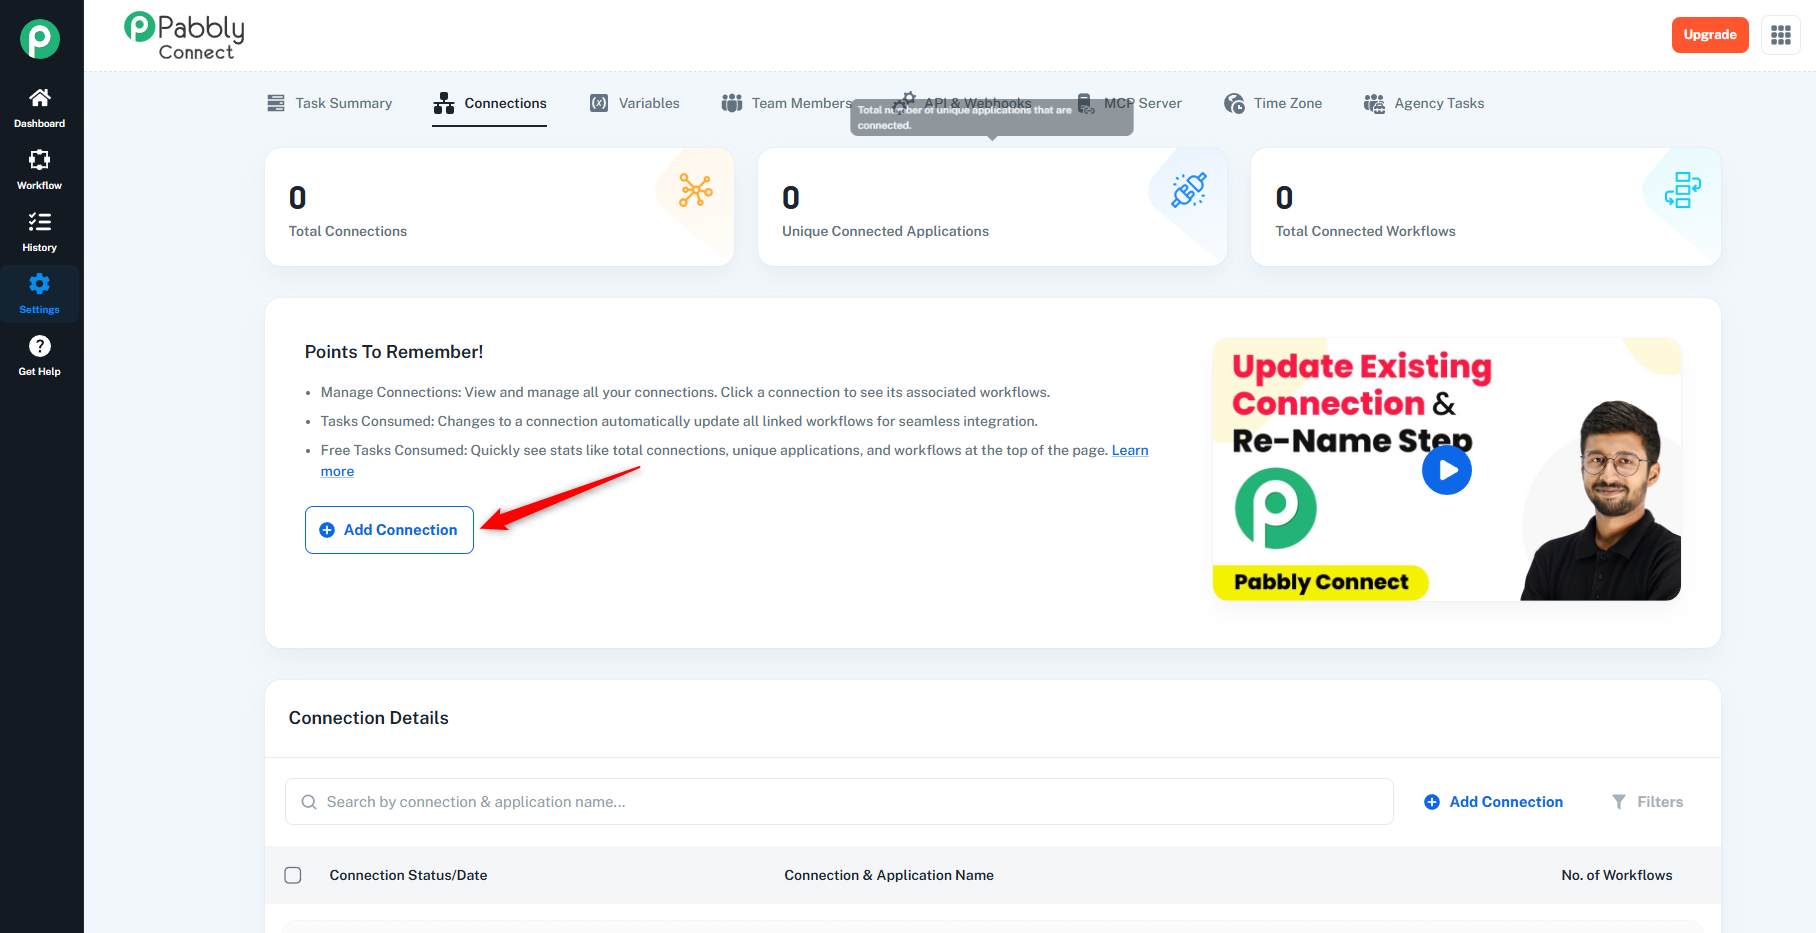
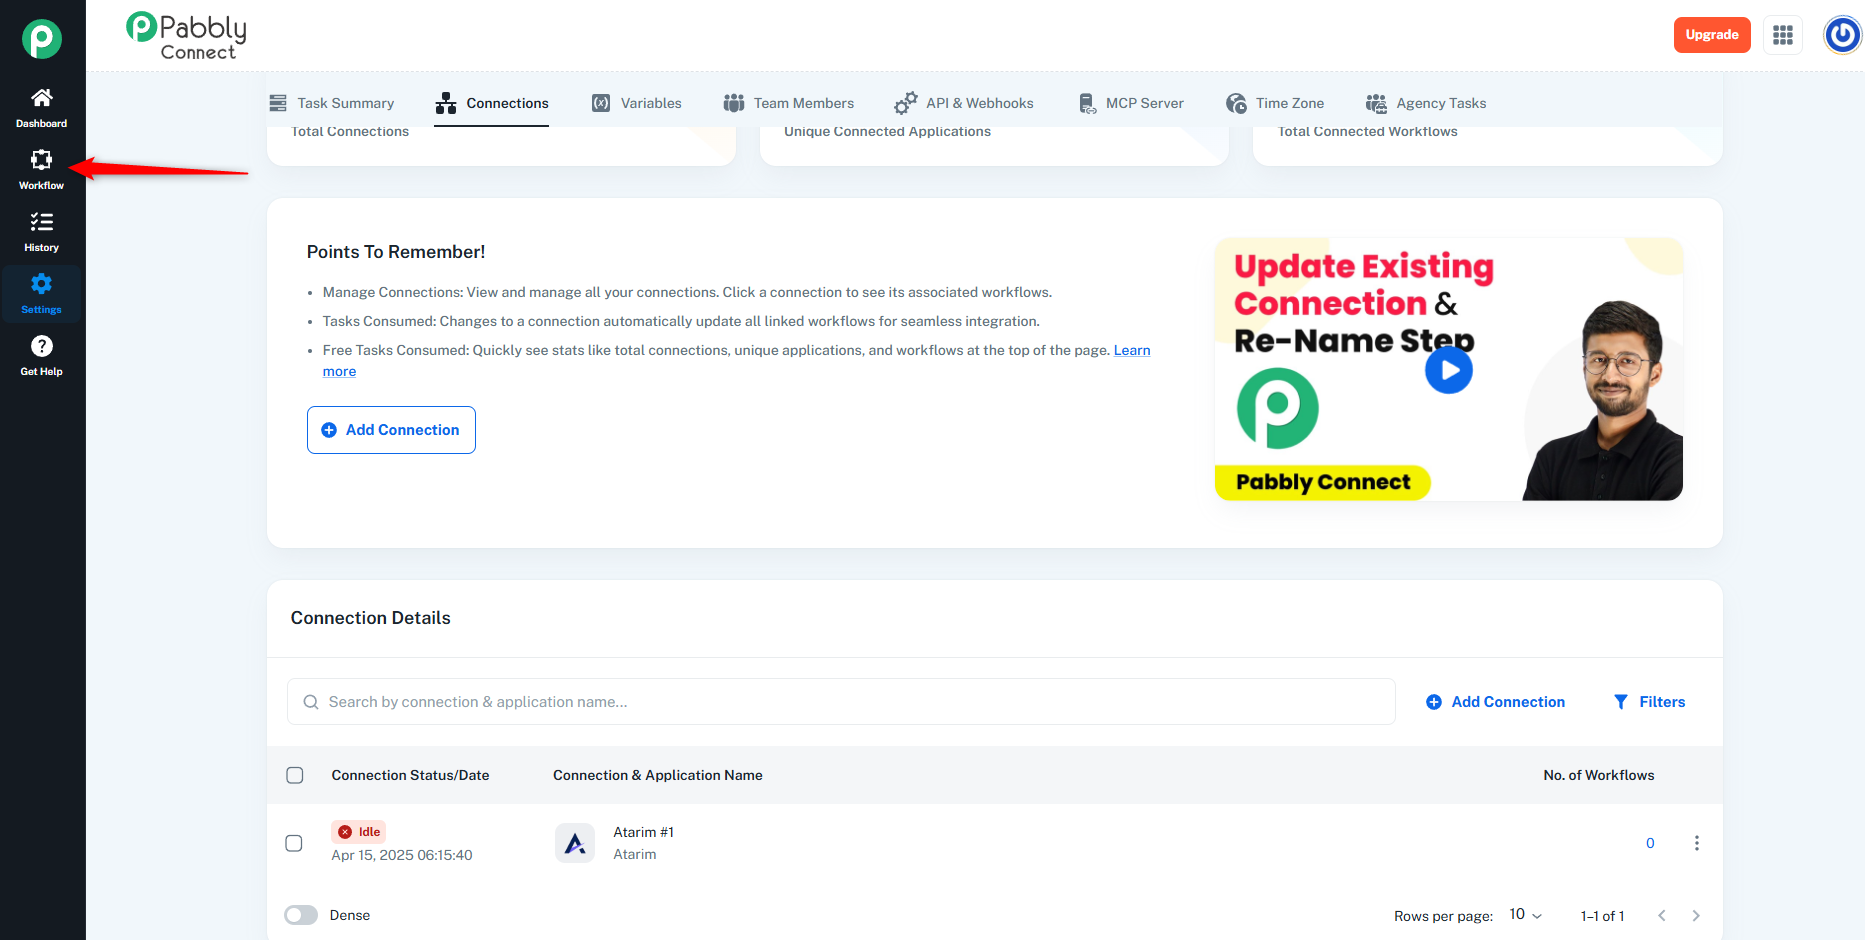
- Log in to Pabbly Connect.
- Navigate to Settings then Connections.
- Click Add Connection.
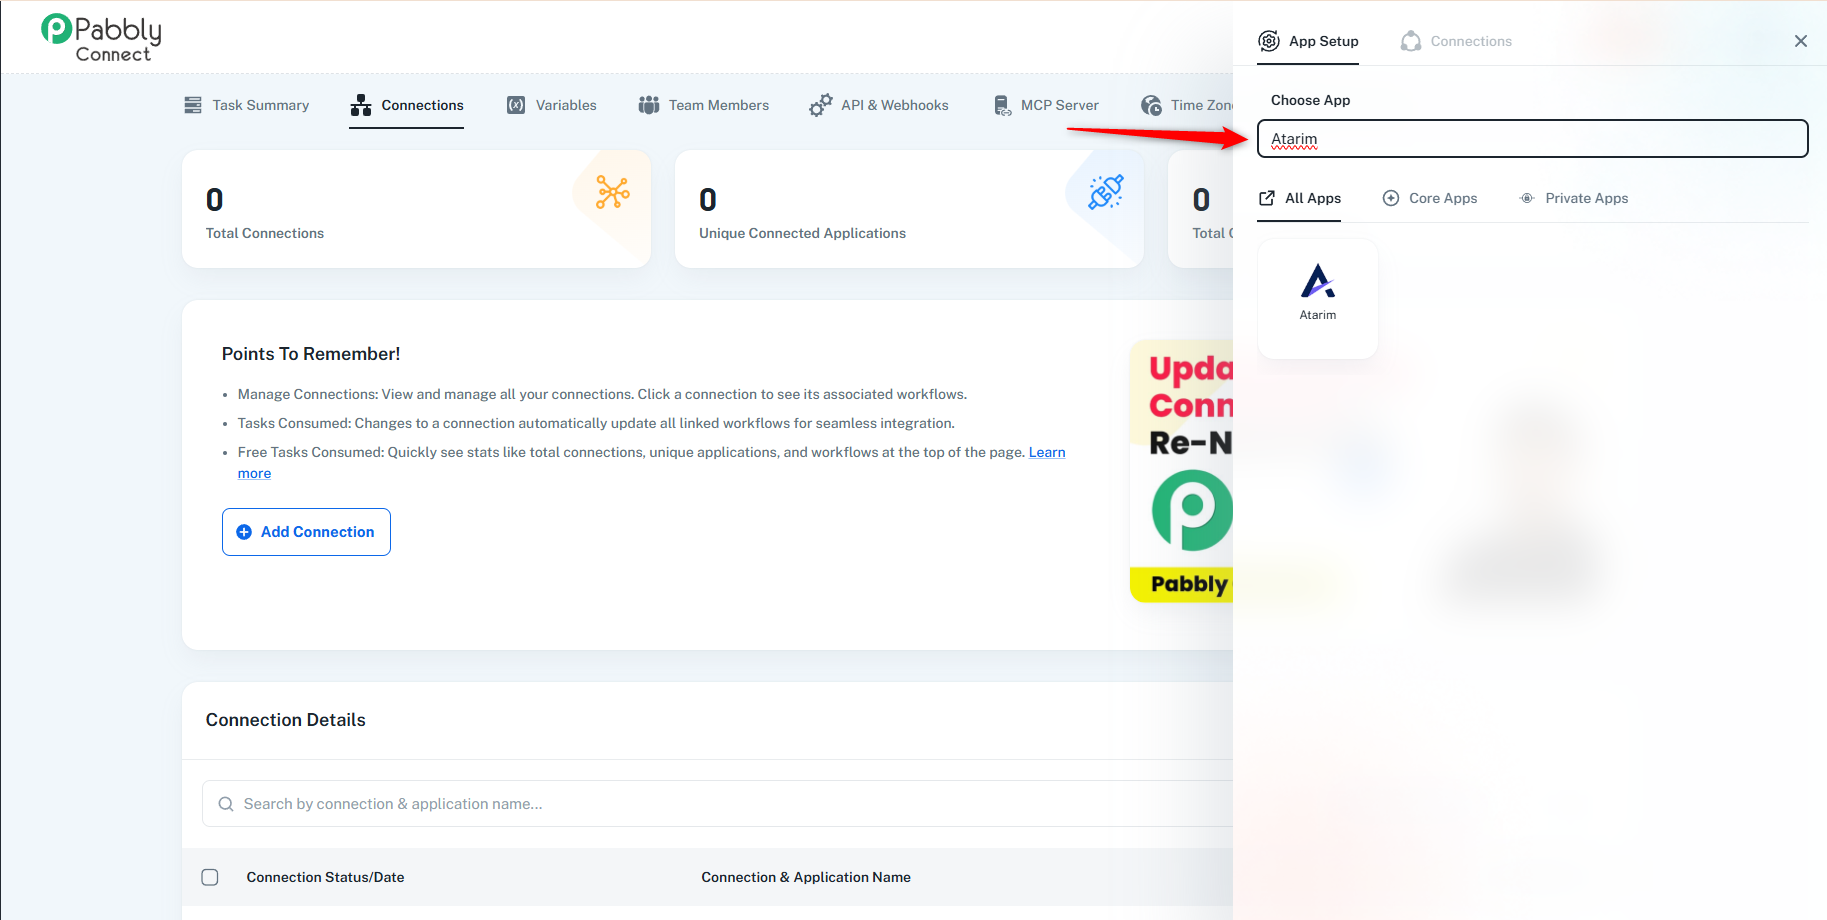
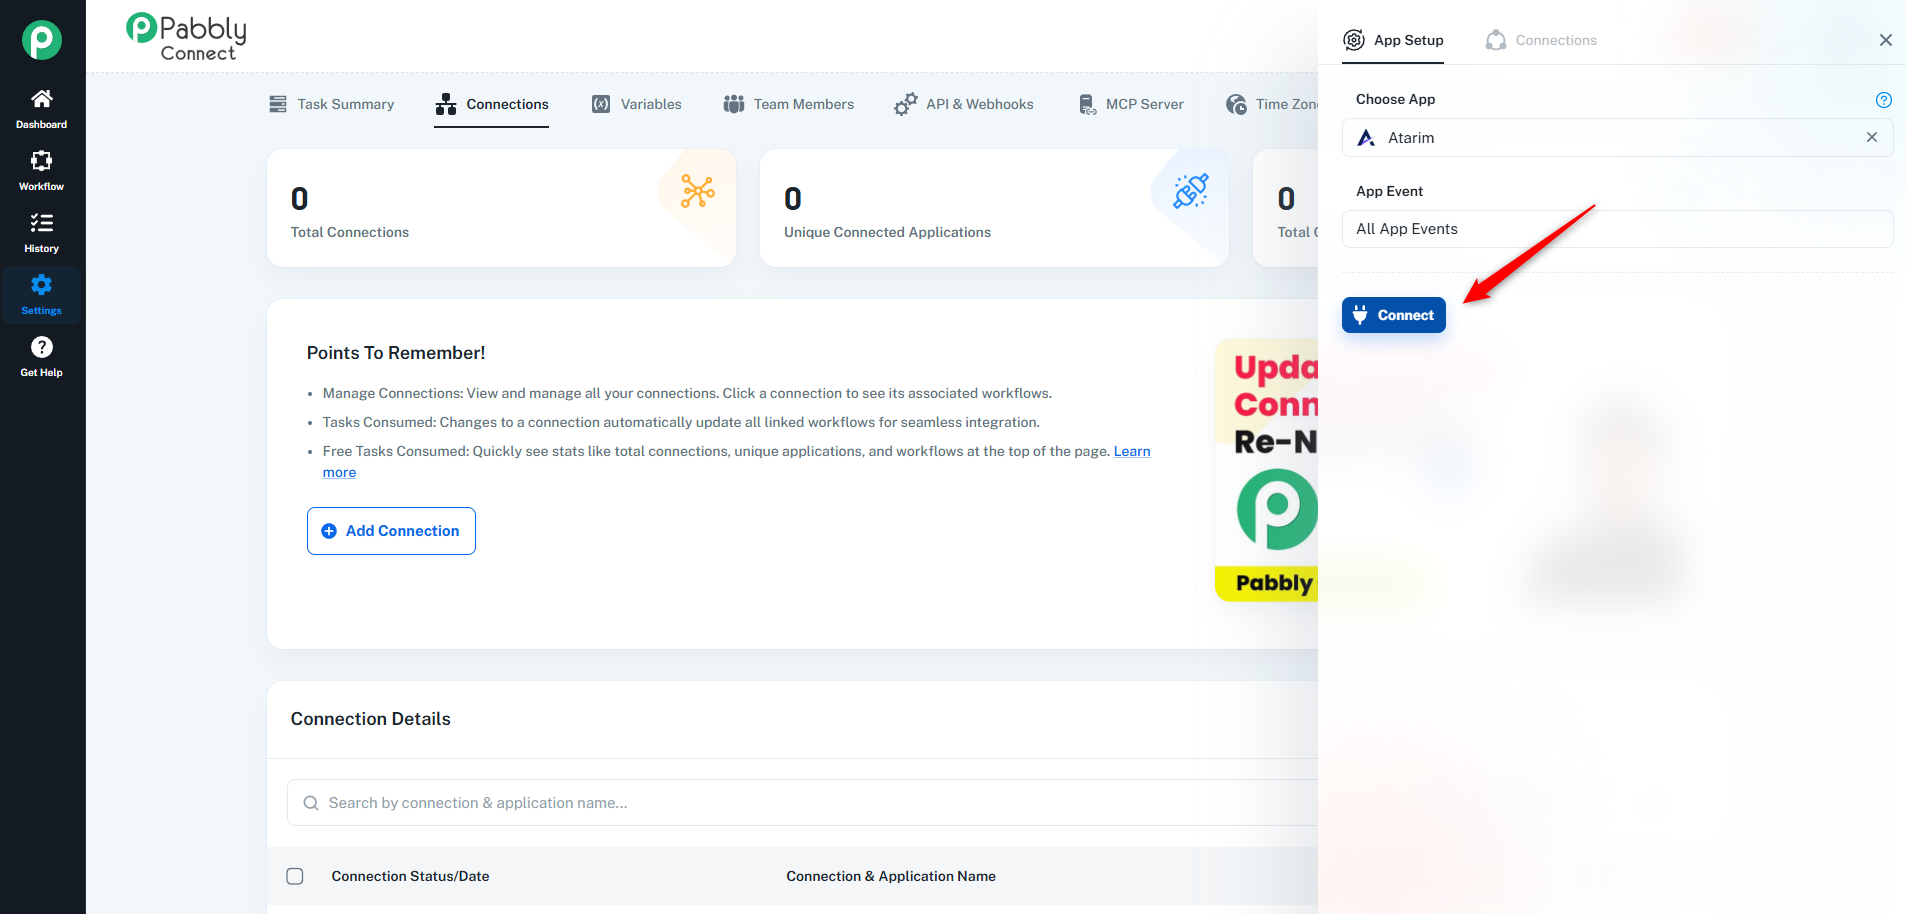
- Search for Atarim.
- Paste your API key into the designated field.
- Click Save.

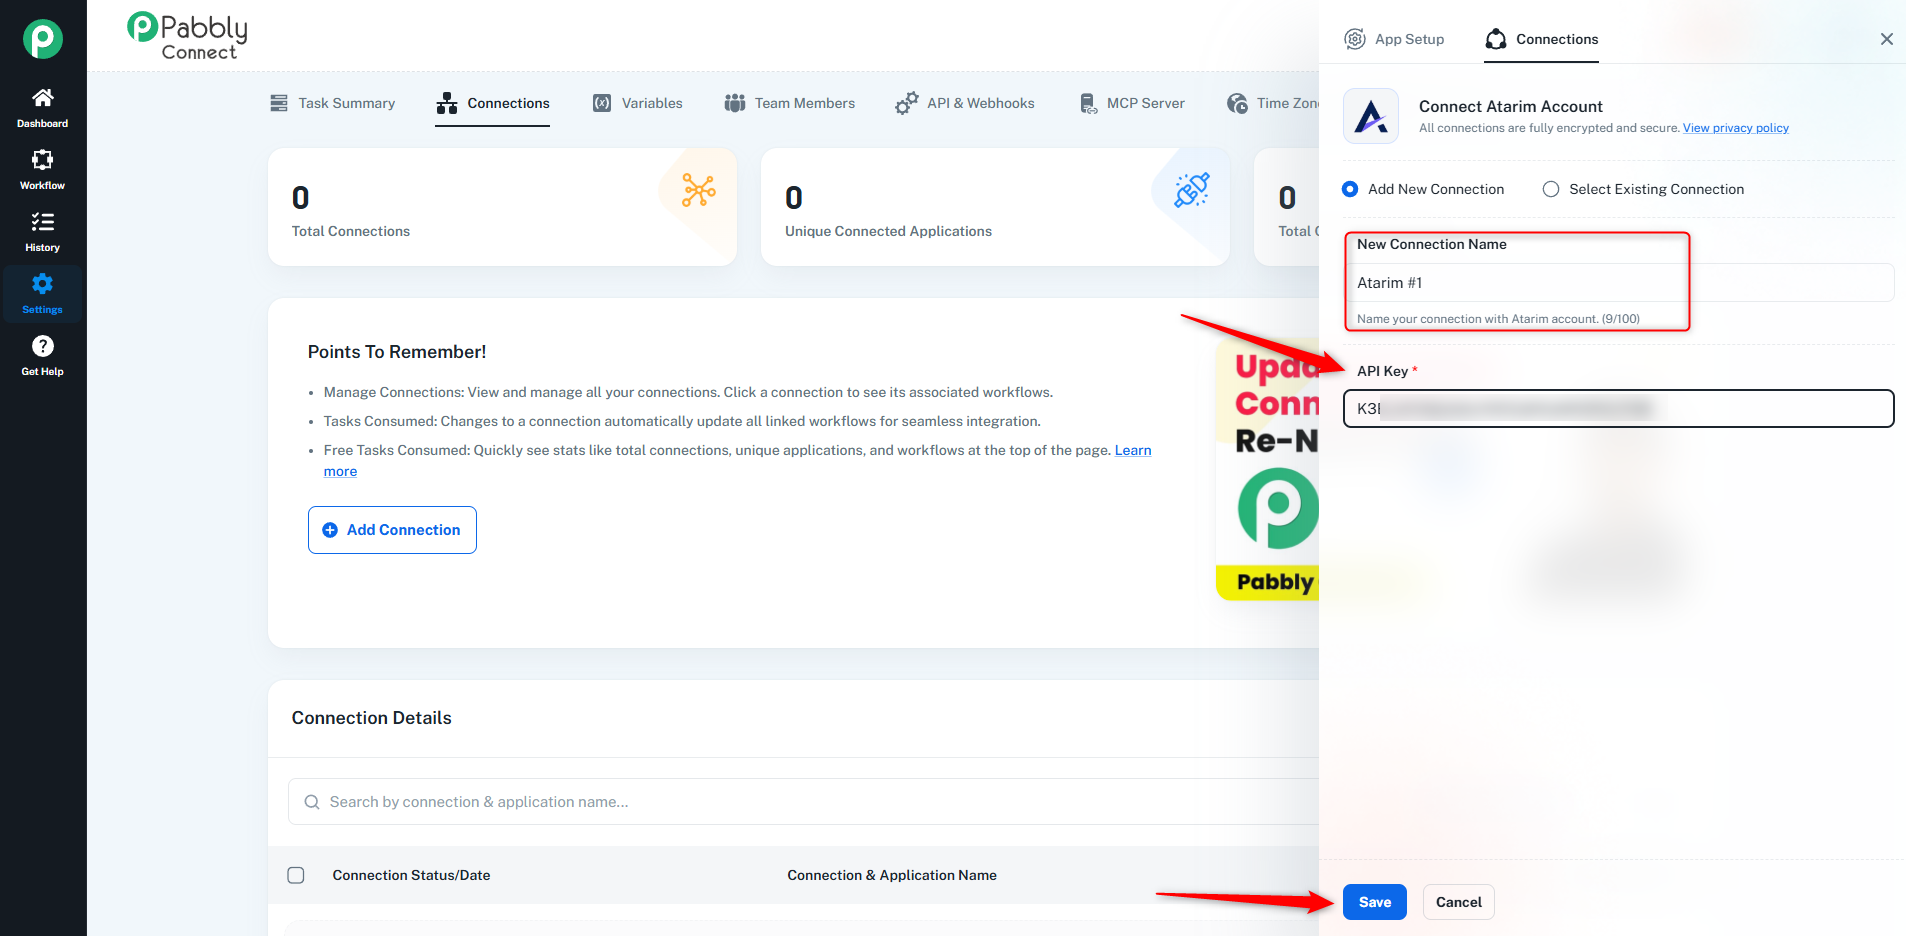
Tip: Naming your connection clearly (e.g., “Atarim Production Workspace”) will help keep your workflows organized.
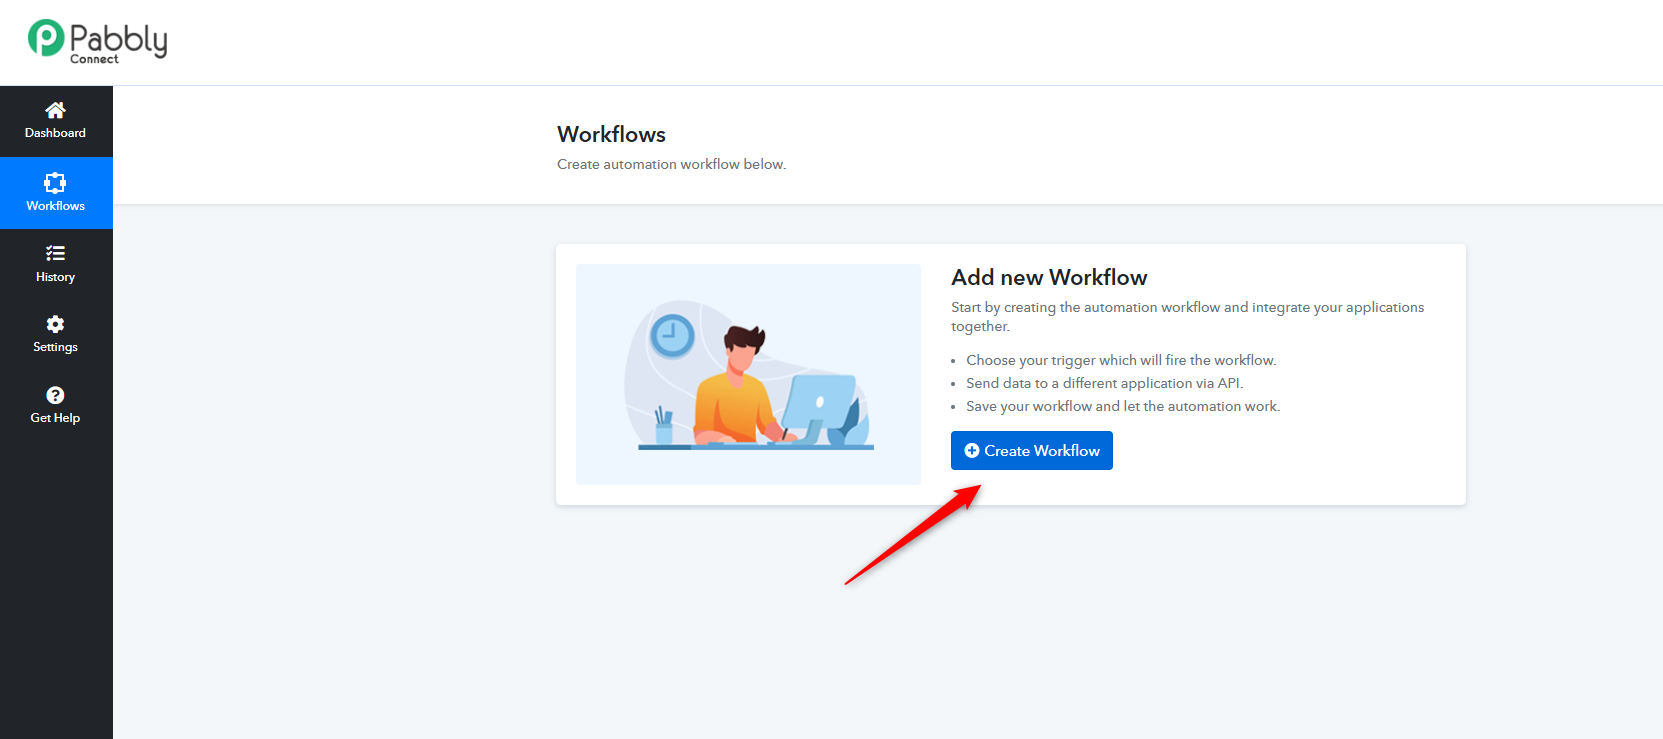
3. Set Atarim as the Trigger App
Description:
Set up Atarim to act as the trigger for your workflow.
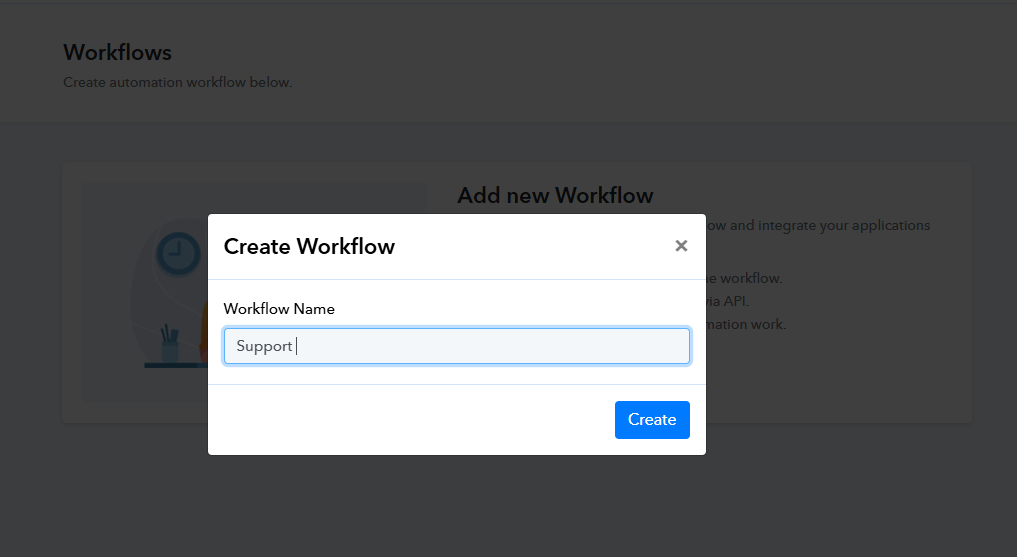
Instructions:
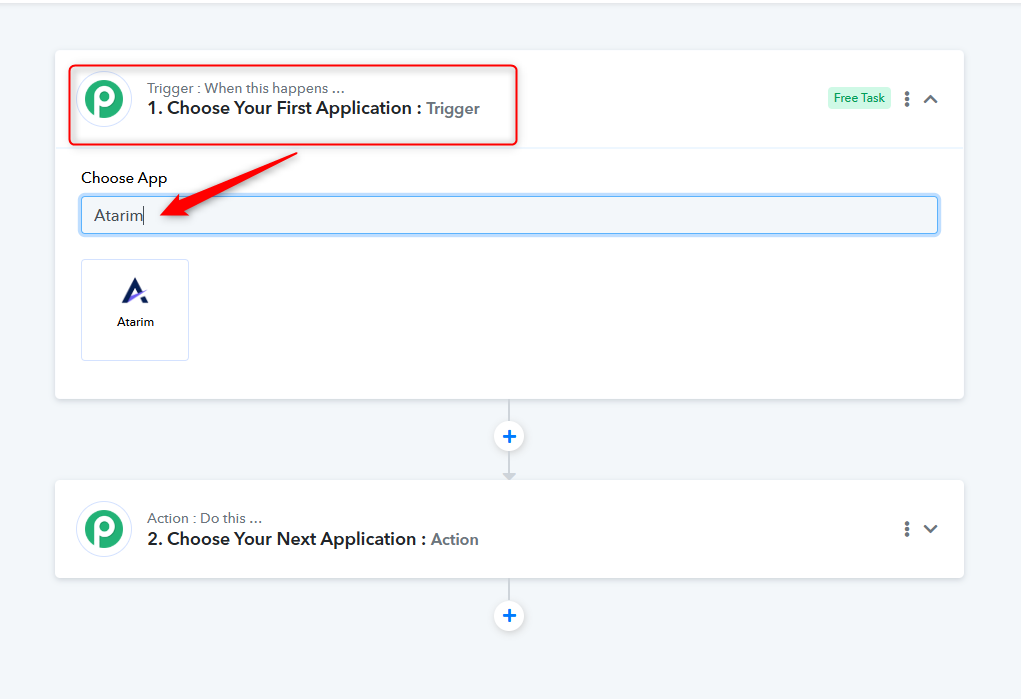
- In Pabbly, create a new workflow.
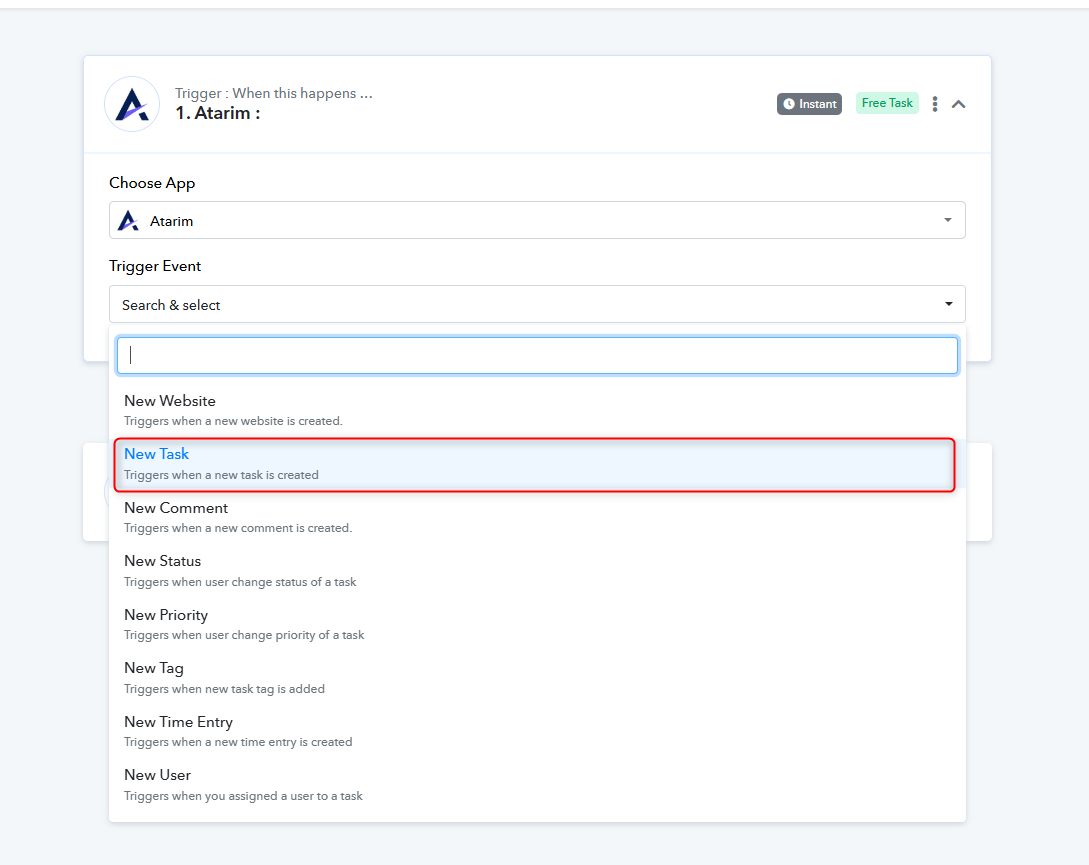
- Choose Atarim as the Trigger App.
- Select New Task as the trigger event.
- Pabbly will now generate a Webhook URL.
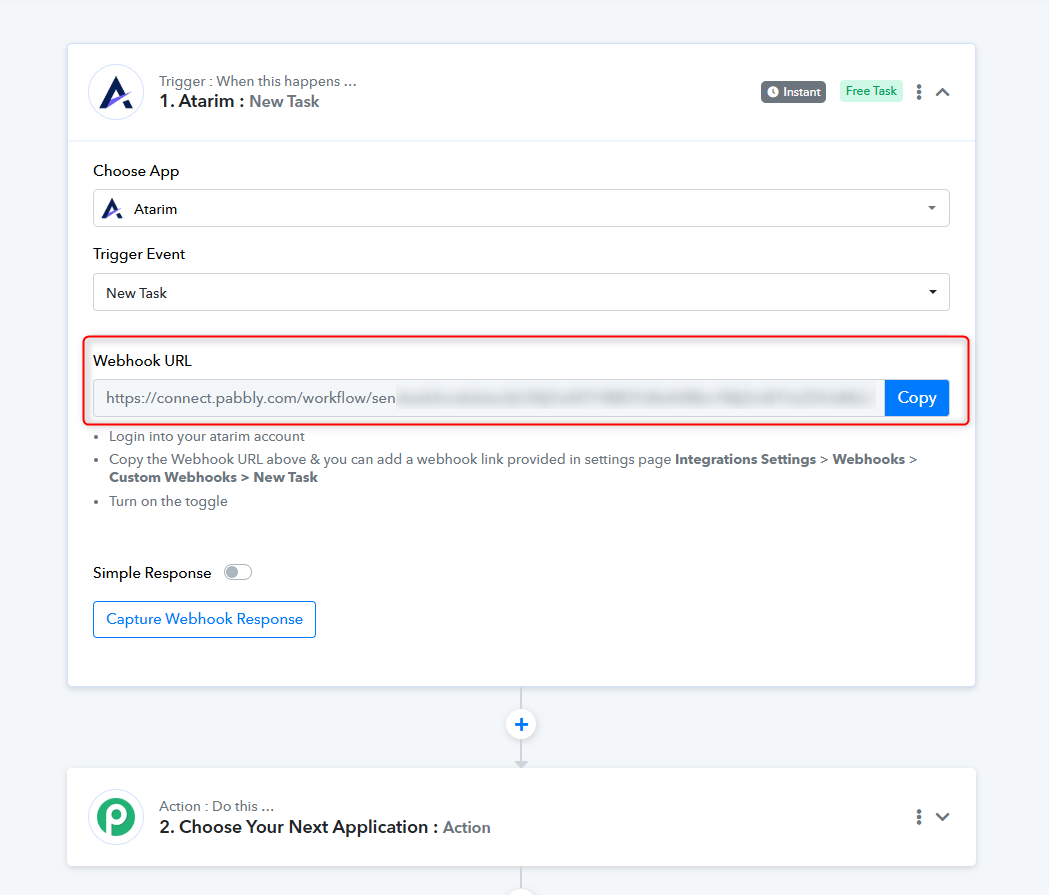
Note: This trigger activates every time a new task is created in Atarim.
4. Add the Webhook to Atarim
Description:
You’ll now send data from Atarim to Pabbly by adding the webhook to Atarim’s custom webhooks.
Instructions:
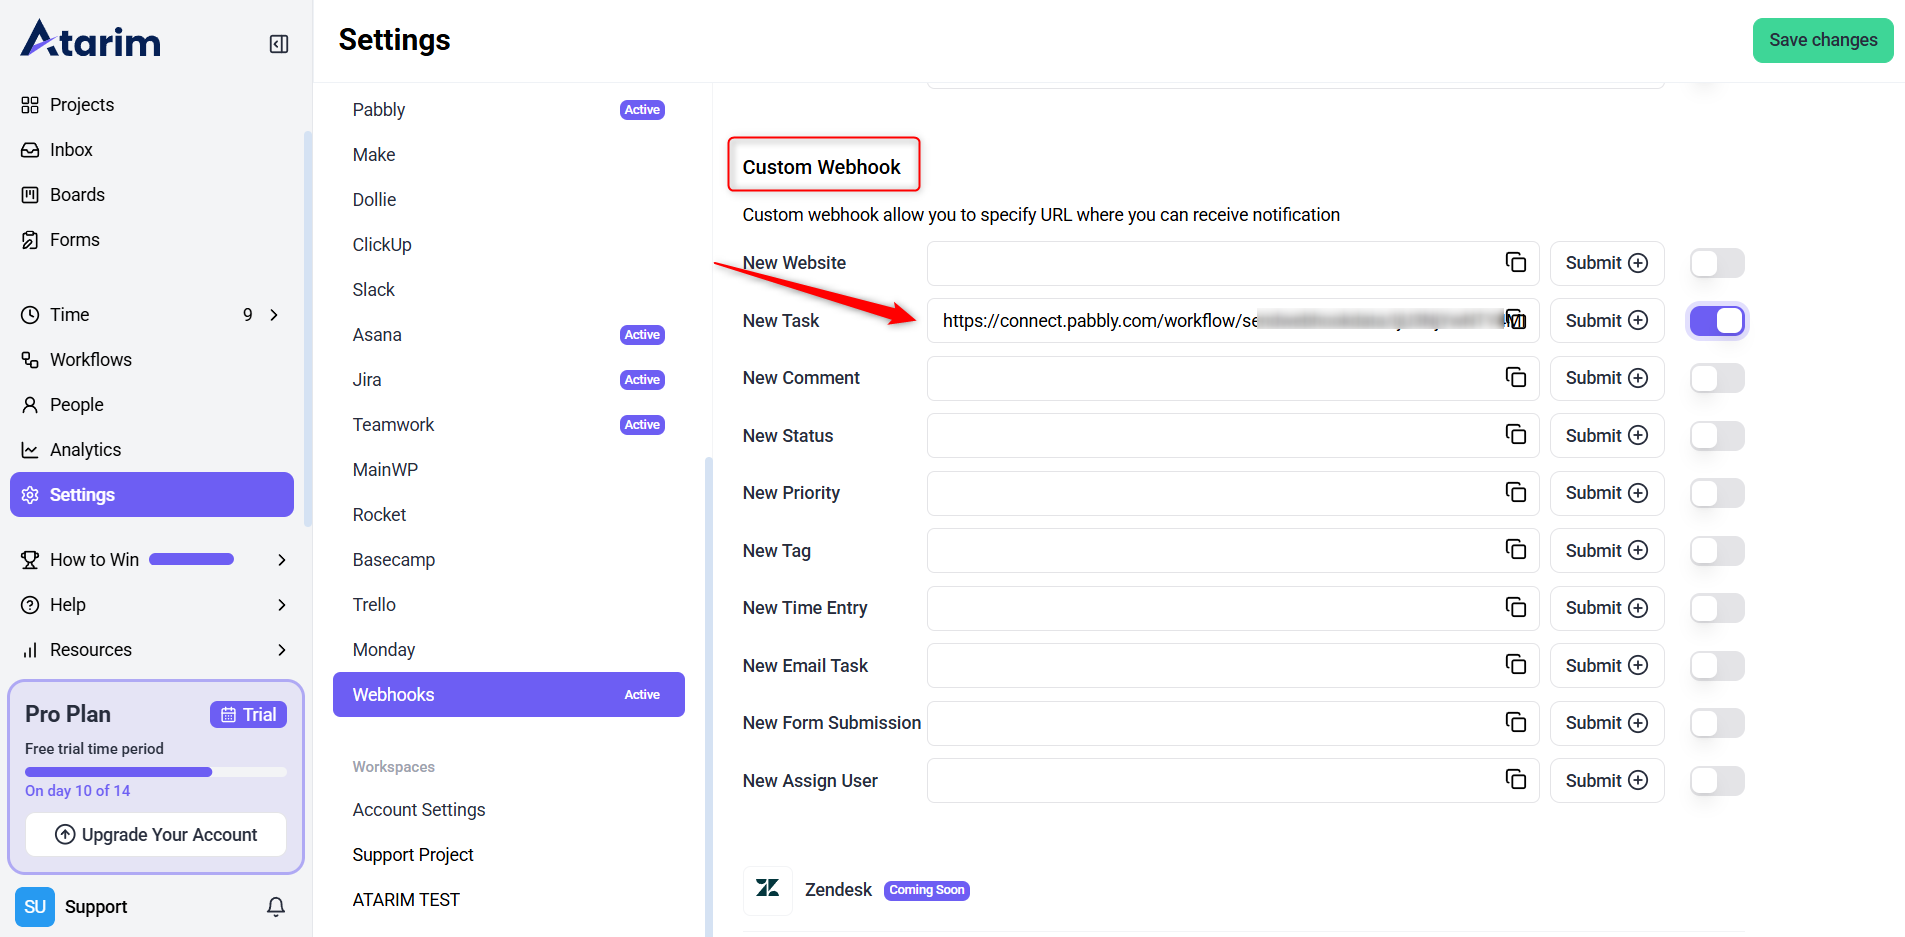
- Go back to Atarim’s Settings – Webhooks section.
- Choose “Custom Webhook”.
- Paste the Webhook URL from Pabbly into the New Task event field.
- Save the webhook.
5. Test and Configure Your Workflow
Description:
Once everything is connected, it’s time to test the trigger and configure what happens next.
Instructions:
- In Pabbly, click Save and Send Test Request.
- Create a test task in Atarim to trigger the webhook.
- You should see a response with data from the new task.
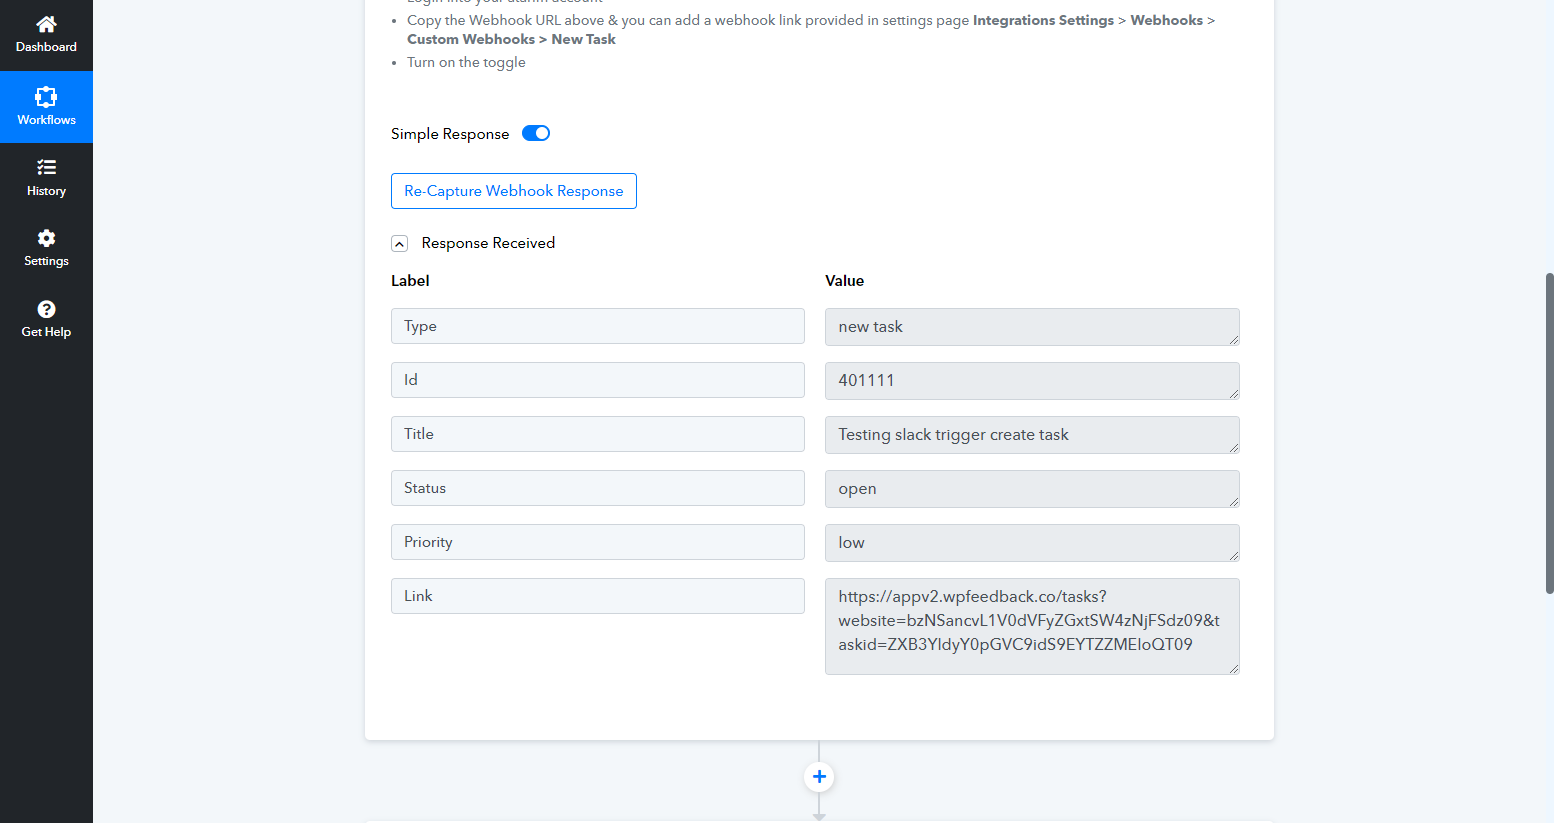
Tip: You can now pass this data to any of Pabbly’s supported apps such as Slack, Google Sheets, or your email provider.
6. Add an Action (Example: Send an Email)
Description:
Use the response from Atarim to perform an action—in this case, sending an email.
Instructions:
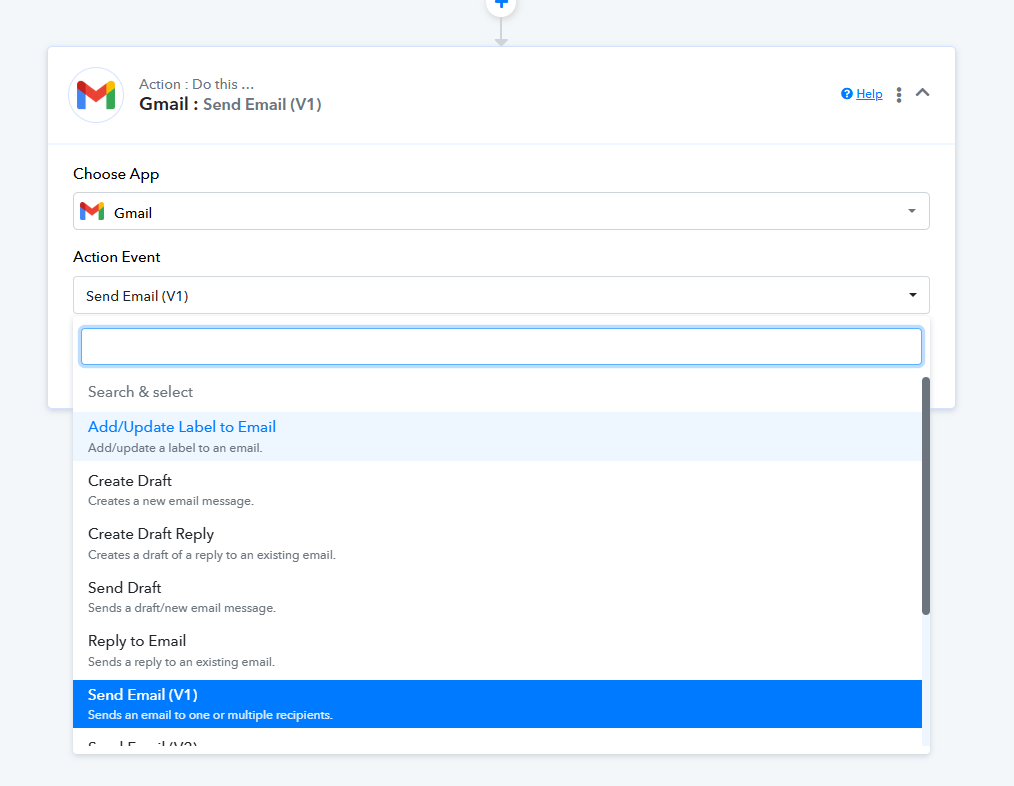
- In your Pabbly workflow, choose an app (such as Email by Pabbly) as the Action App.
- Configure the recipient, subject, and body using the task data from Atarim.
- Click Save & Send Test Request.
- Check your inbox for the test email.
Note: This demonstrates how to pass data from Atarim into another platform using automation.
FAQs
Only Pro, Business, and Enterprise plans include integration support for Pabbly.
It allows you to automate task updates by sending Atarim data to other apps.
No, you can use your existing Atarim account to connect with Pabbly.
Go to Atarim Dashboard > Settings > Integration Settings, then enable Pabbly to generate an API key.
Ensure that you copied the correct API key from Atarim.
Test the connection in Pabbly by running the workflow manually to check for new Atarim tasks.