Step-by-Step Guide
Step 1: Locate Your Workspace
Description:
The first step to renaming your workspace is finding where it is listed in your Atarim account.
Instructions:
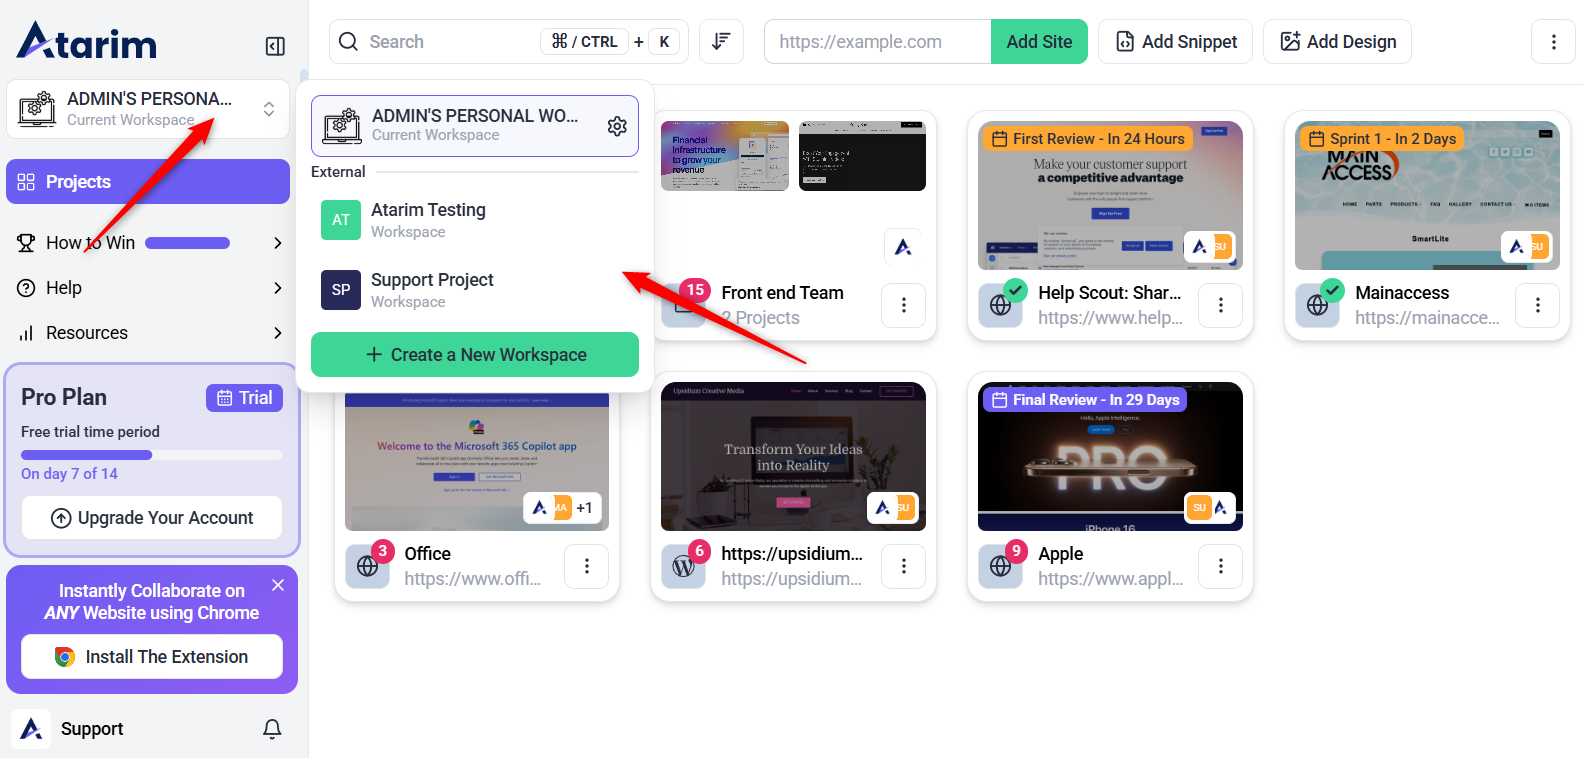
- Log in to your Atarim dashboard.
- Navigate to the workspace selection menu (top-left corner of your screen).
- Hover over your active workspace name to reveal the submenu.
Tip: If you have multiple workspaces, ensure you are selecting the correct one before proceeding.
Step 2: Open Workspace Settings
Description:
To change the workspace name, you need to access the settings panel.
Instructions:
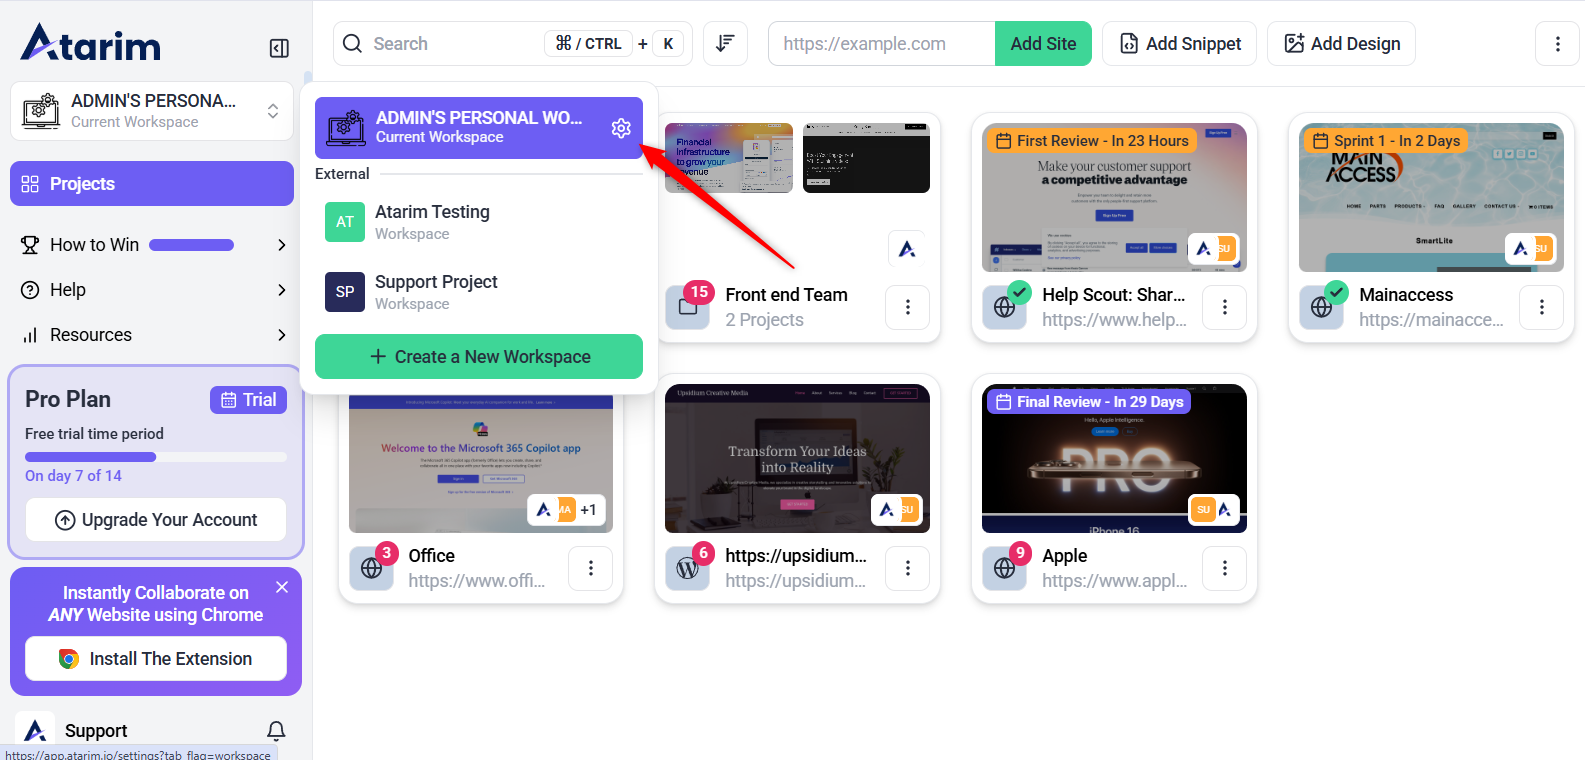
- In the submenu, you’ll see a list of all workspaces you are a member of.
- Find the workspace you want to rename.
- Click the Settings (gear) icon next to the workspace name to access its settings.
Note: If you don’t see the settings option, you might not have the required admin permissions.
Step 3: Rename Your Workspace
Description:
Updating the workspace name helps in keeping your account organized and relevant.
Instructions:
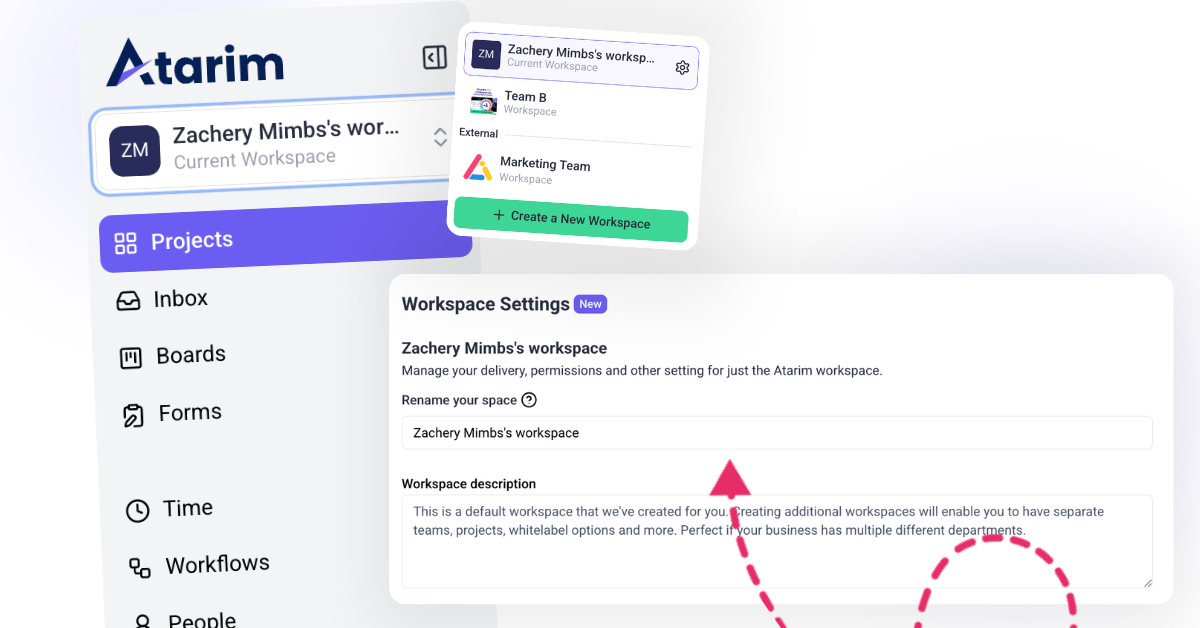
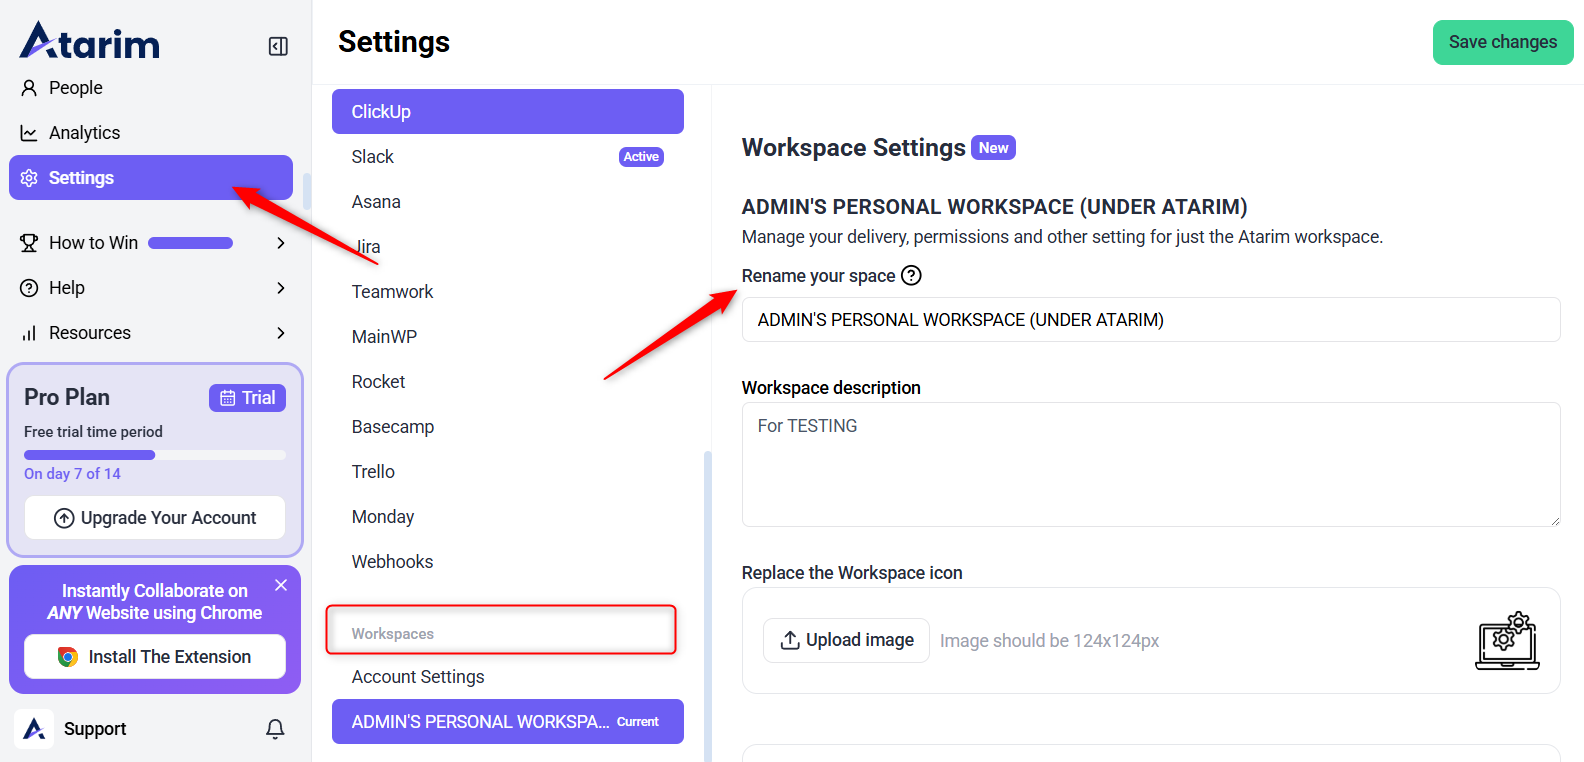
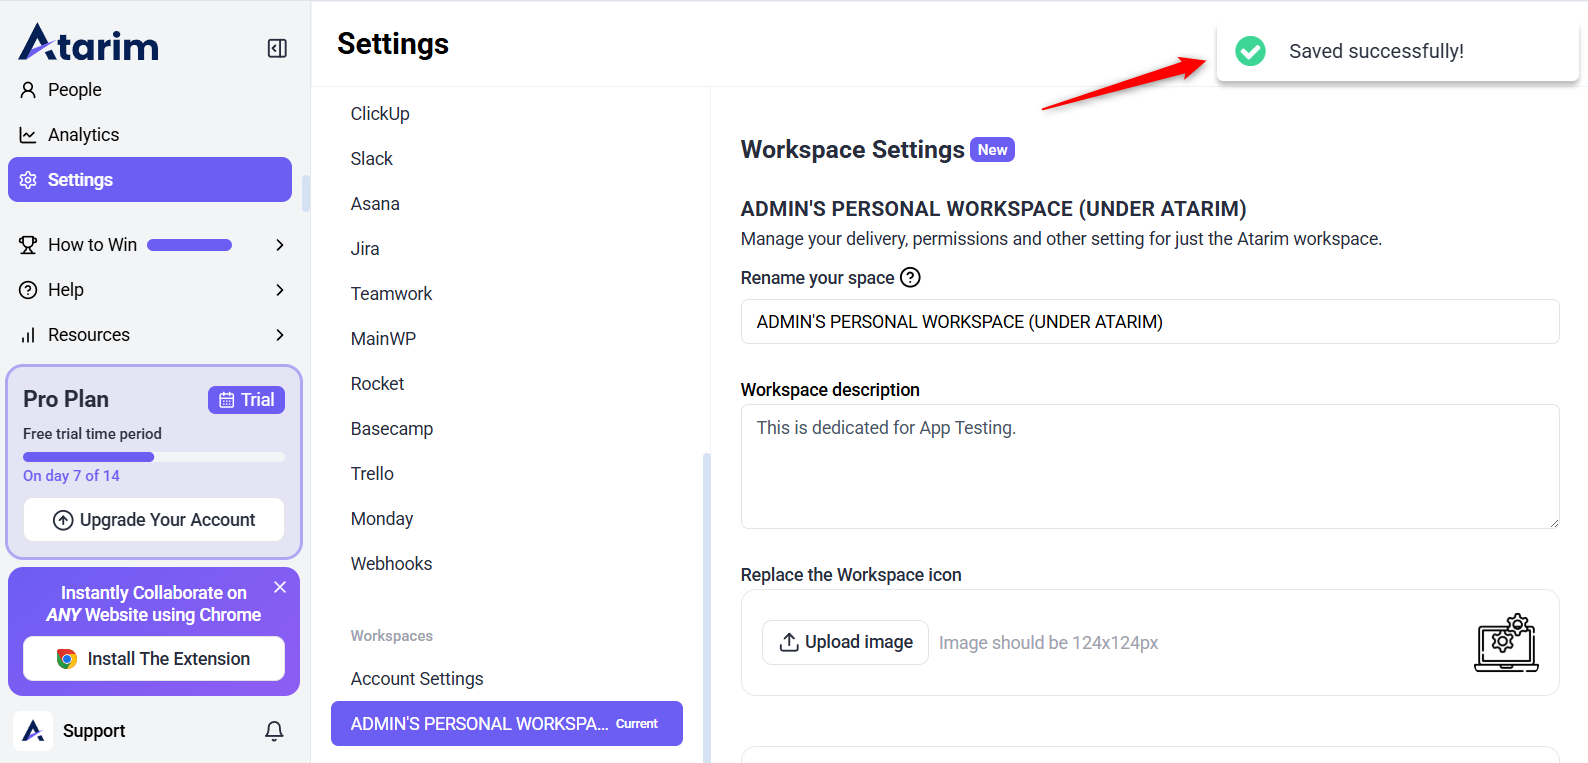
- On the Workspace Settings page, locate the text field labeled “Rename your space” at the top.
- Click on the field and enter the new workspace name.
Note: Only Workspace Admins can change the workspace name. If you don’t see the option, verify that you have the correct permissions.
Step 4: Save Changes
Description:
To ensure your updates take effect, you need to save your changes.
Instructions:
- After updating the workspace name, you can also modify its description and icon if needed.
- Click the “Save Changes” button (top-right corner) to apply the updates.
Tip: Consider updating the workspace icon and description along with the name for consistency.
Step 5: Verify the Change
Description:
Double-checking that the workspace name has updated properly ensures clarity for all team members.
Instructions:
- The new workspace name will be updated immediately across the platform.
- Check your dashboard, menus, and email notifications to ensure the change is reflected correctly.
Tip: If you don’t see the change right away, try refreshing the page or logging out and back in.