Step-by-Step Guide
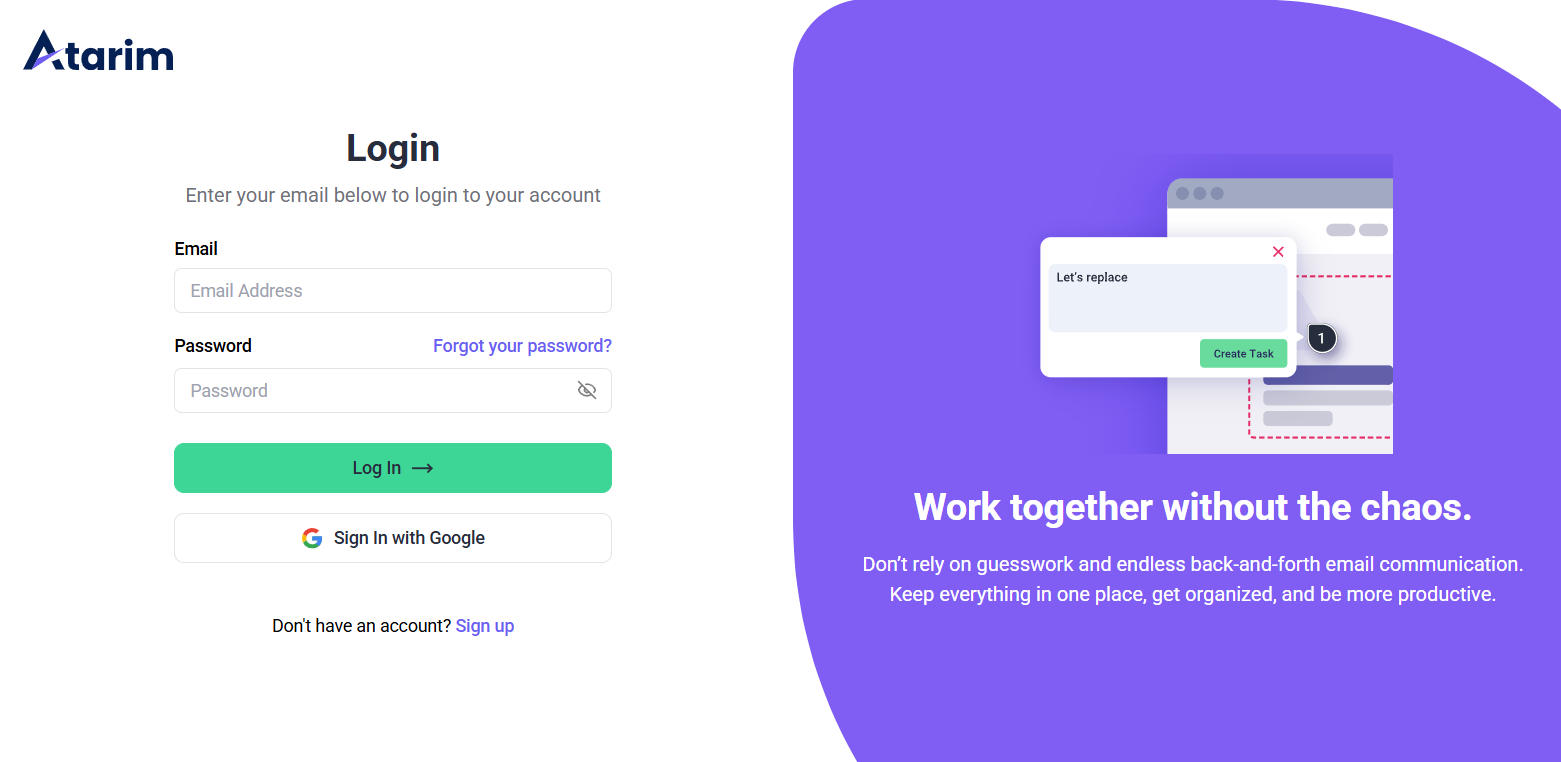
1. Log in to Atarim
Description:
Before creating a workspace, you need to access your Atarim account.
Instructions:
- Go to Atarim Login Page.
- Enter your email and password, then click Login.
- If you are already logged in, you will see the workspace selection screen.
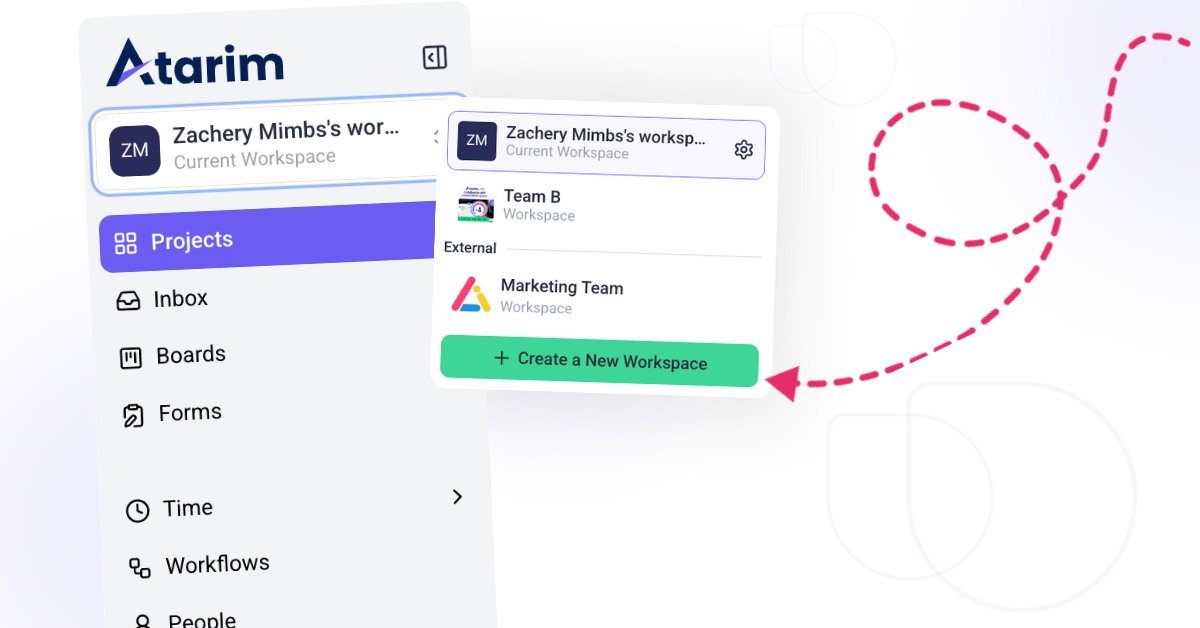
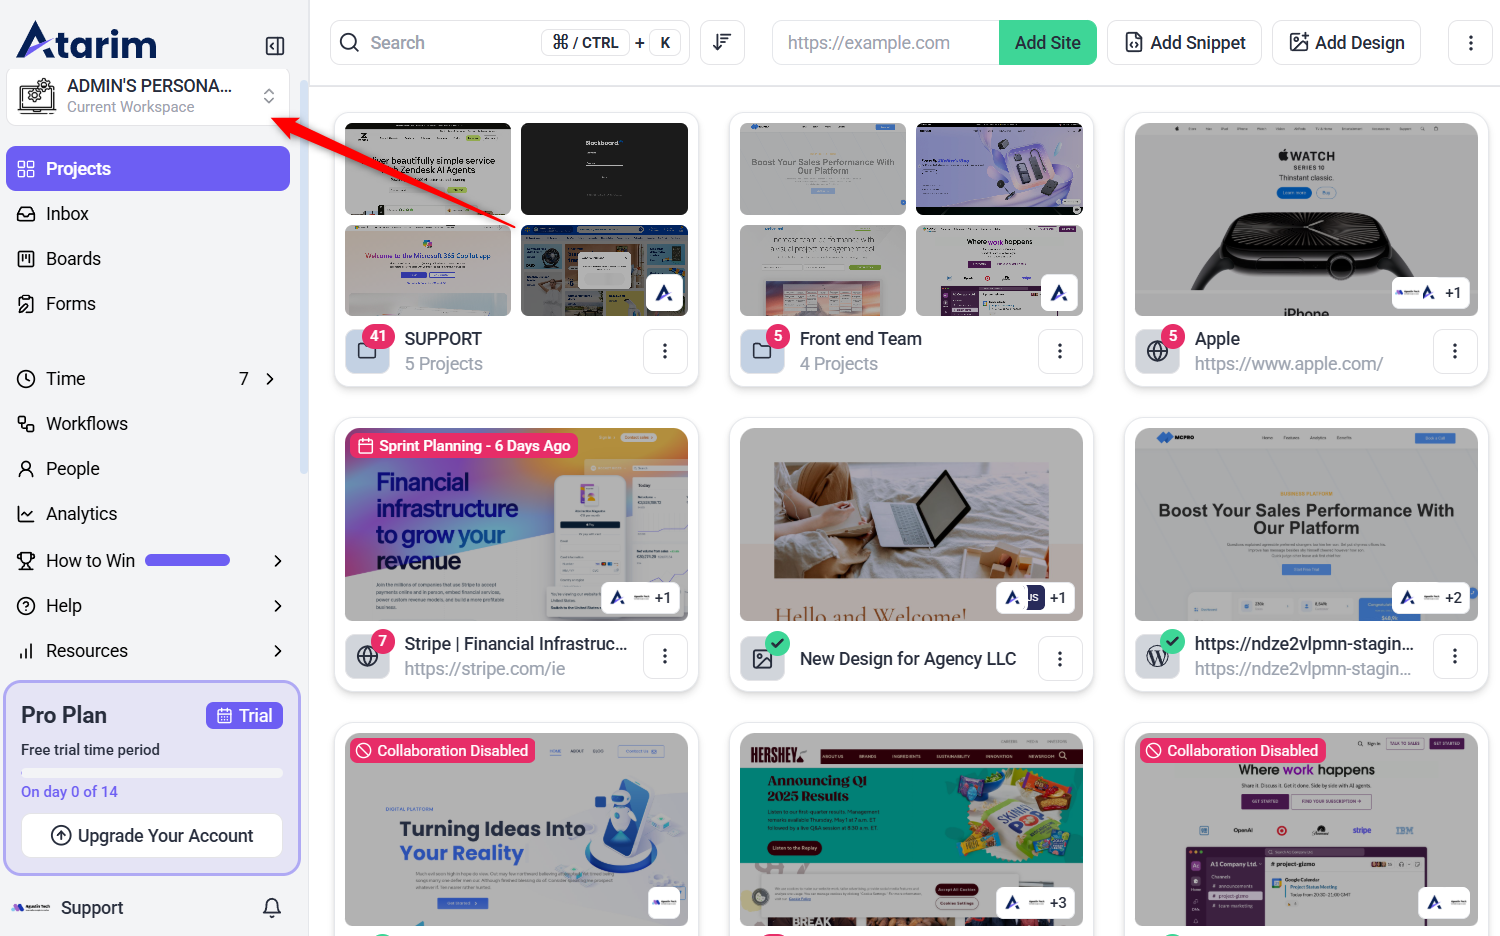
2. Navigate to Workspaces
Description:
The workspace menu helps you switch between existing workspaces or create a new one.
Instructions:
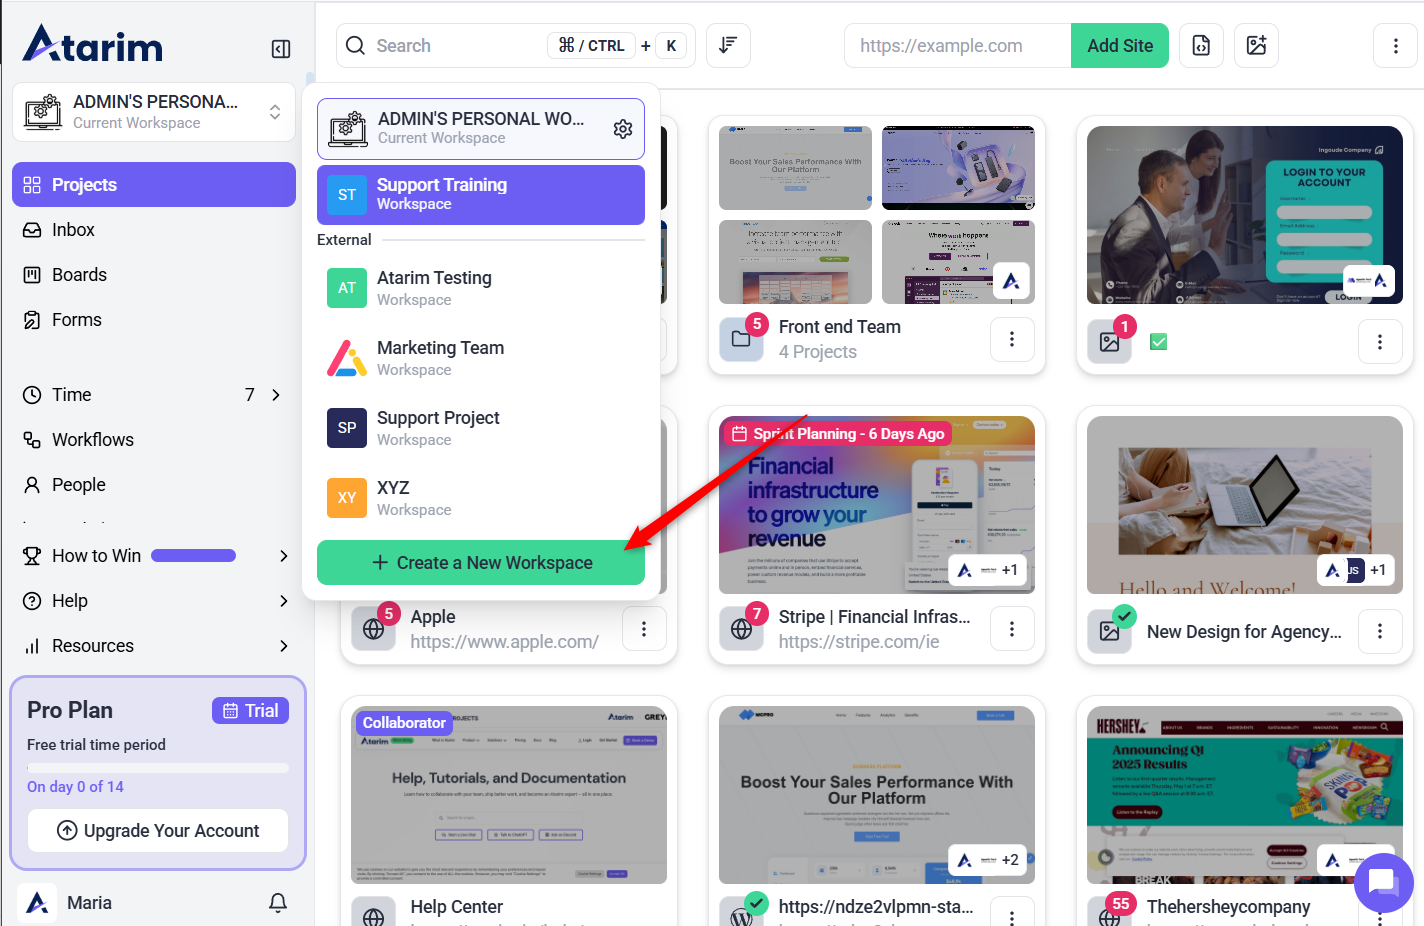
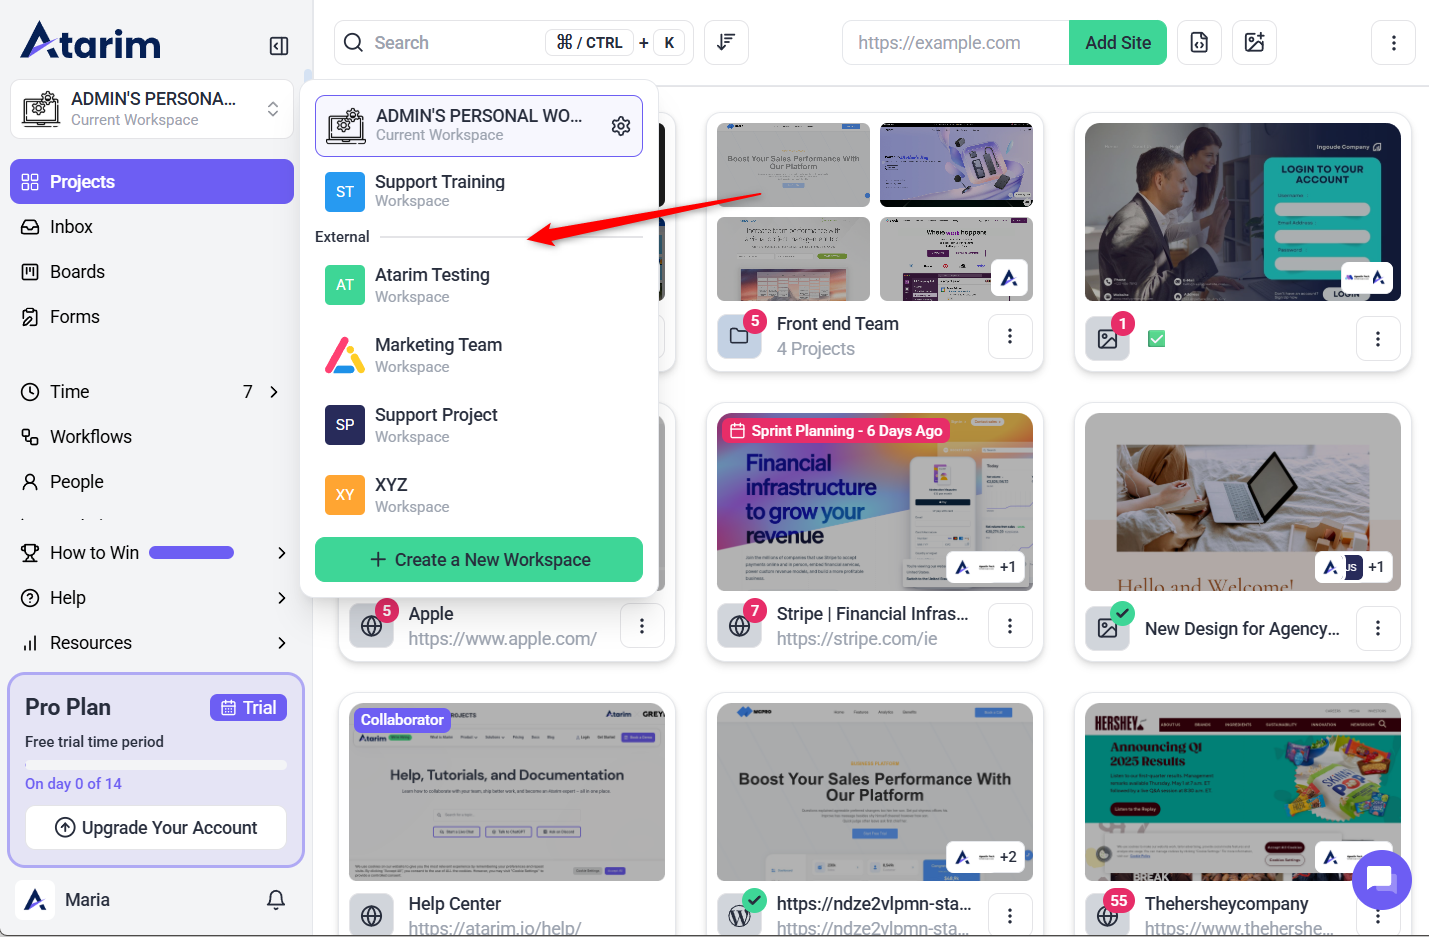
- In the top-left corner of the dashboard, locate your current workspace name.
- Hover over it to reveal the workspace menu.
3. Create a New Workspace
Description:
Workspaces allow you to separate projects based on teams, clients, or departments.
Instructions:
- Click the green “Create New Workspace” button.
- If prompted, confirm that your plan supports additional workspaces.
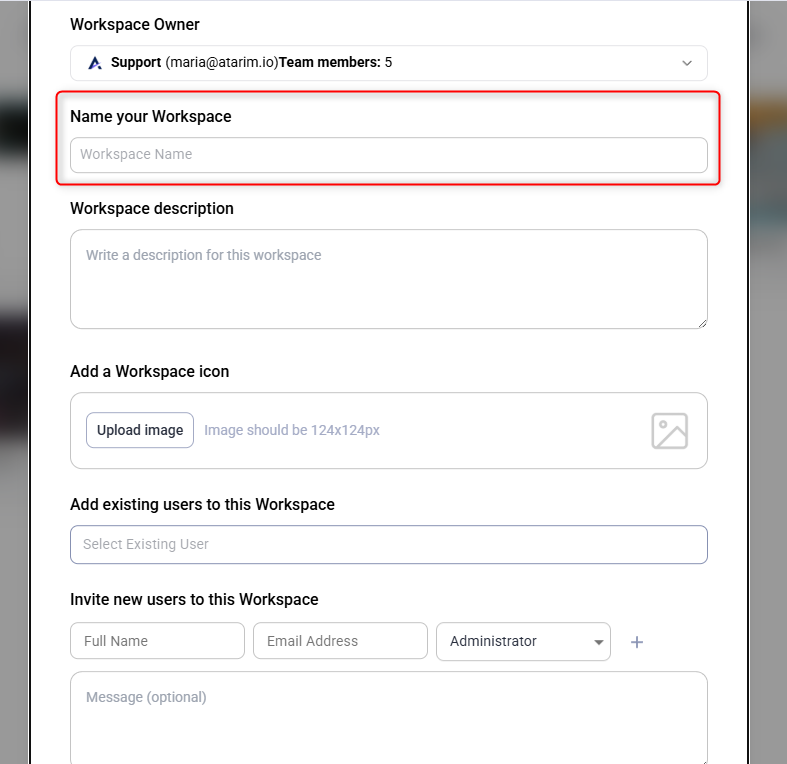
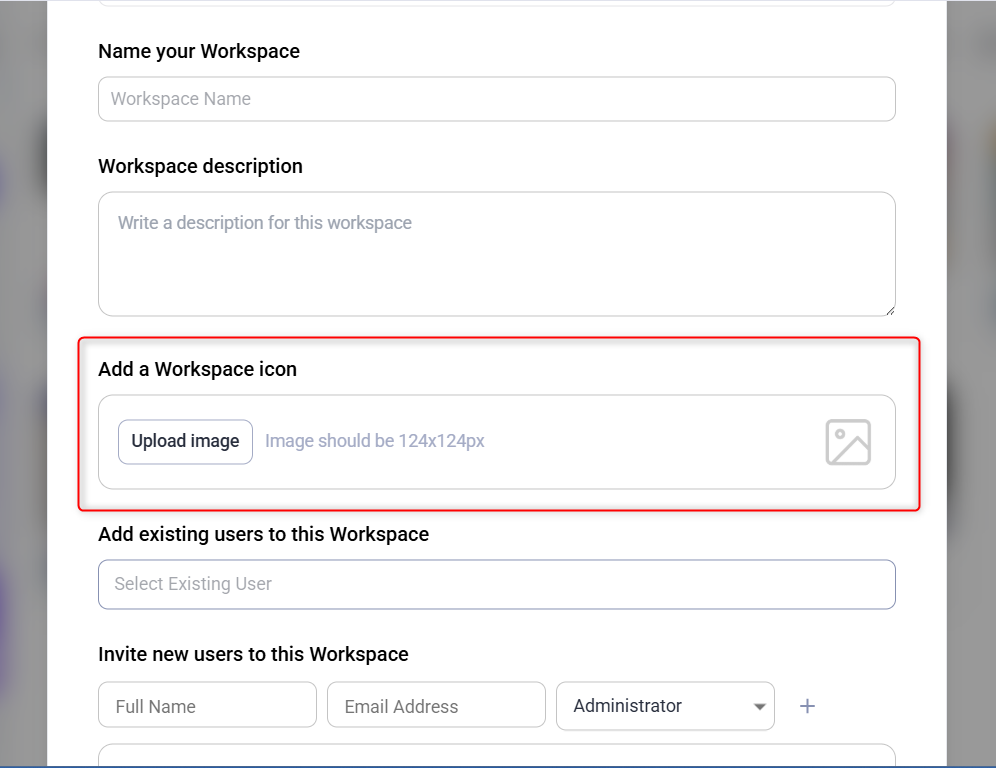
- Name your workspace and provide a short description (optional).
Tip: If your plan limits the number of workspaces, you may need to upgrade your subscription to create more.
4. Customize Your Workspace
Description:
Tailor your workspace settings to match your needs.
Instructions:
- Rename your workspace: Click on the workspace name and enter a new title.
- Add a workspace description: Helps team members understand the workspace’s purpose.
5. Add and Manage Team Members
Description:
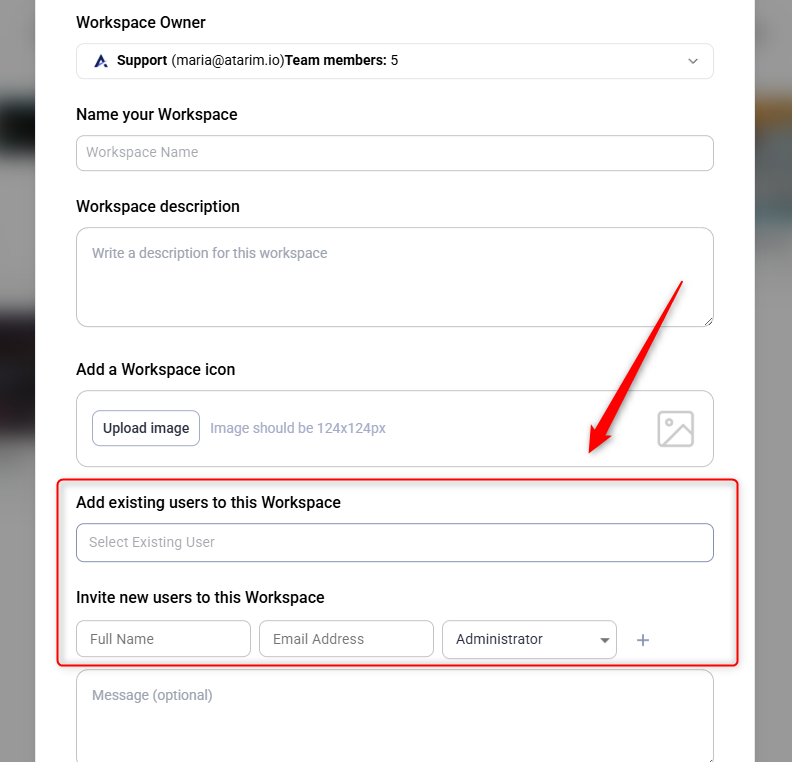
Invite team members to collaborate within the workspace.
Instructions:
- Click on “Team Members” and select “Invite New Member”.
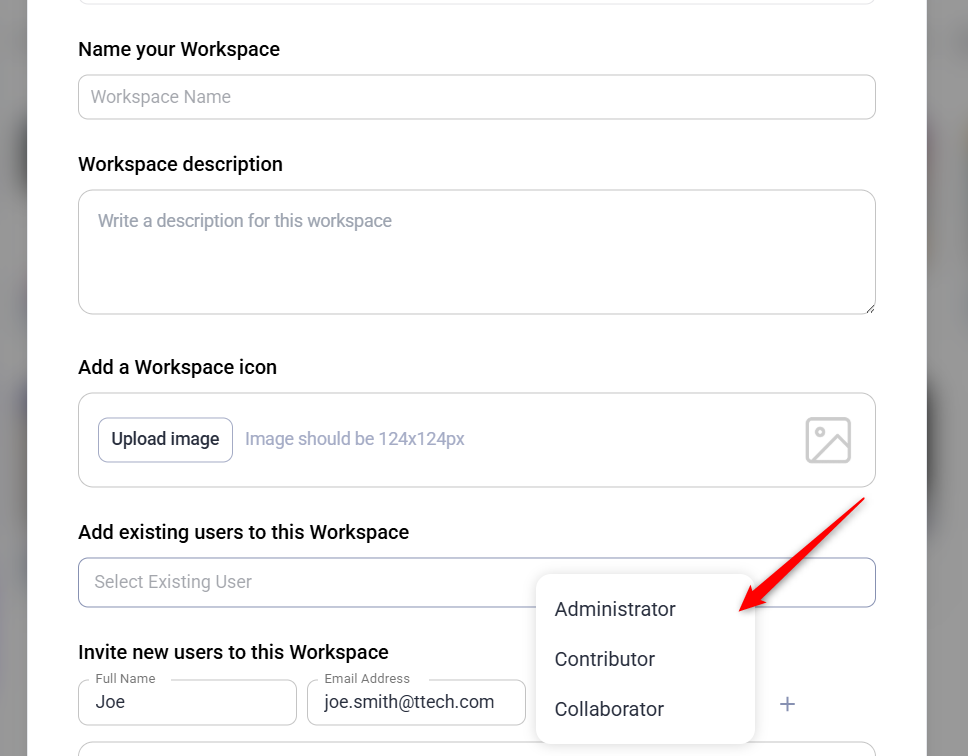
- Enter their email address and assign a role:
- Admin – Full control over workspace settings.
- Project Manager/Contributor – Can oversee projects but with limited admin rights.
- Collaborator/Team Member – Works on assigned projects with restricted access.
Tip: Assign roles based on responsibility to maintain efficient workspace management.
6. Set Permissions for Team Members
Description:
Control access levels for different team members.
Instructions:
- Navigate to “Permissions” in Workspace Settings.
- Adjust settings based on user roles:
- Admins can manage everything.
- Project Managers oversee projects but can’t change workspace settings.
- Collaborators can only view and edit assigned projects.
7. Customize Your Workspace Branding (Optional)
Description:
If your plan includes white-labeling, personalize your workspace’s appearance.
Instructions:
- Go to “Branding Settings” in Workspace Settings.
- Customize the following:
- Upload a logo for the workspace.
8. Understand Internal vs. External Workspaces
Description:
Differentiate between workspaces you create and those you join.
Internal Workspaces:
- Created within your account and fully managed by you.
- Ideal for teams managing projects in-house.
External Workspaces:
- Created by another account where you have been invited.
- Common for contractors or freelancers working with client workspaces.
FAQs
No, the number of workspaces you can create depends on your Atarim plan. Check your plan details in the Billing Settings.
Yes! You can rename your workspace at any time in Workspace Settings.
Currently, workspaces cannot be permanently deleted, but they can be archived to remove them from active view.
You will no longer have access, but the workspace itself will remain for the owner and other members.