Step-by-Step Guide
1. Download the Atarim Plugin from Your Dashboard
Description:
Before installation, download the latest version of the plugin directly from your Atarim dashboard.
Instructions:
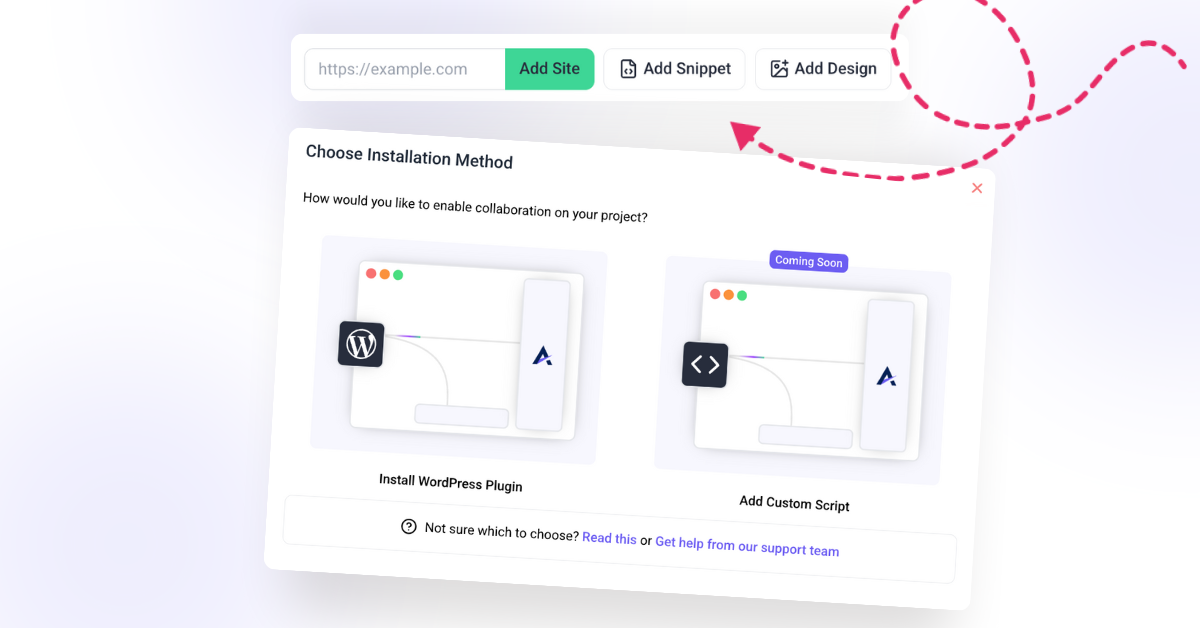
- Log in to your Atarim workspace.
- Navigate to Projects.
- Click on Add Snippet.
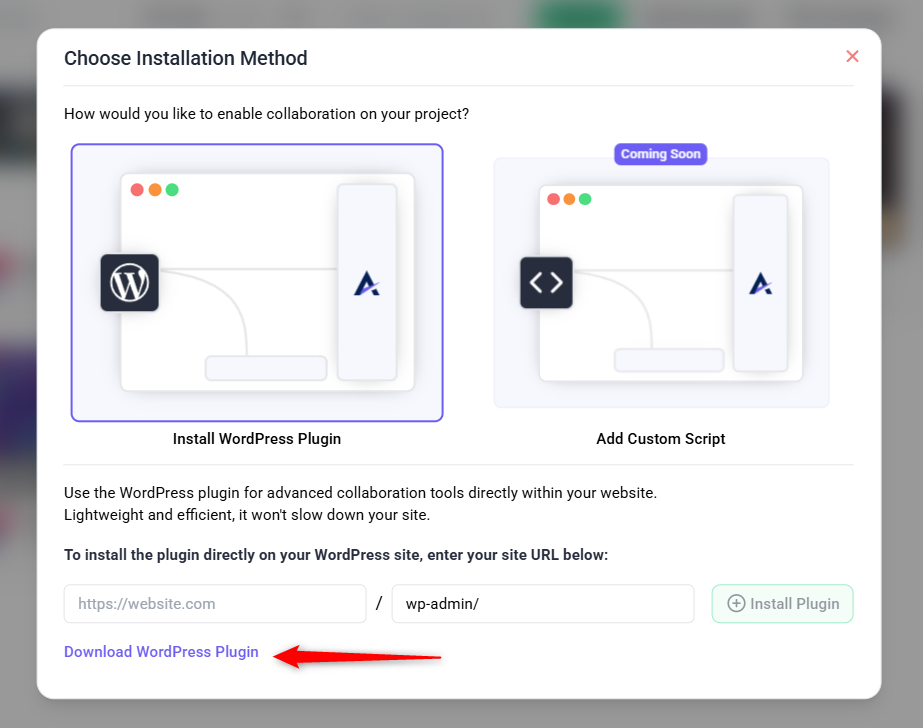
- Select Install WordPress Plugin
- Click the Download Plugin button.
2. Install the Plugin in WordPress
Description:
Once you’ve downloaded the plugin, it’s time to install it into your WordPress site.
Instructions:
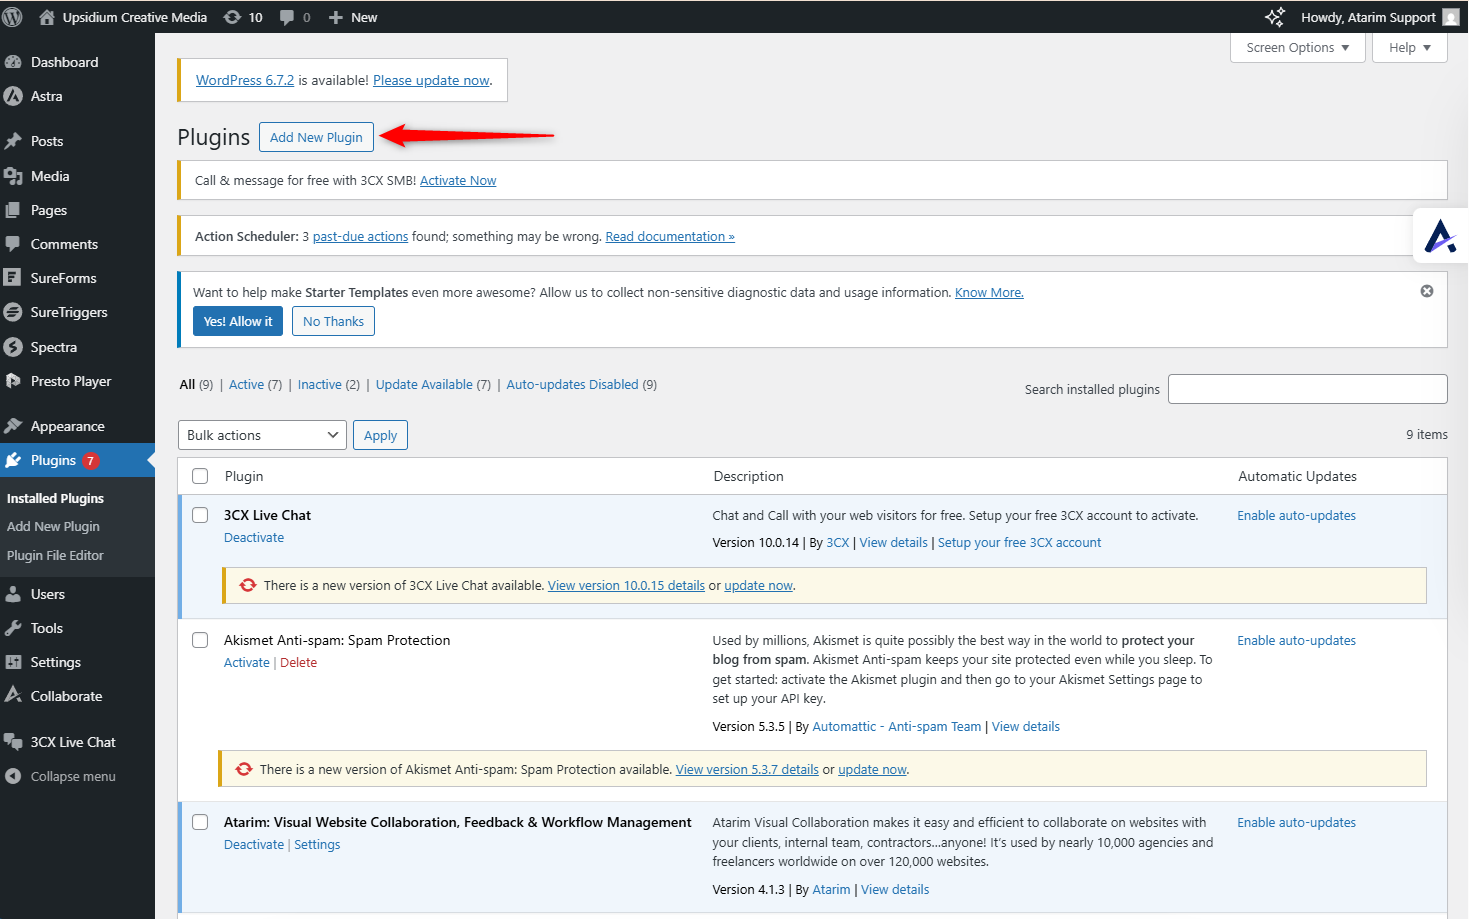
- Go to your WordPress dashboard.
- Navigate to Plugins > Add New Plugin.
- Click Upload Plugin, choose the
.zipfile you downloaded, and click Install Now.
3. Alternatively, Search and Install the Plugin from the Repository
Description:
You can also install Atarim directly from the WordPress Plugin Repository.
Instructions:
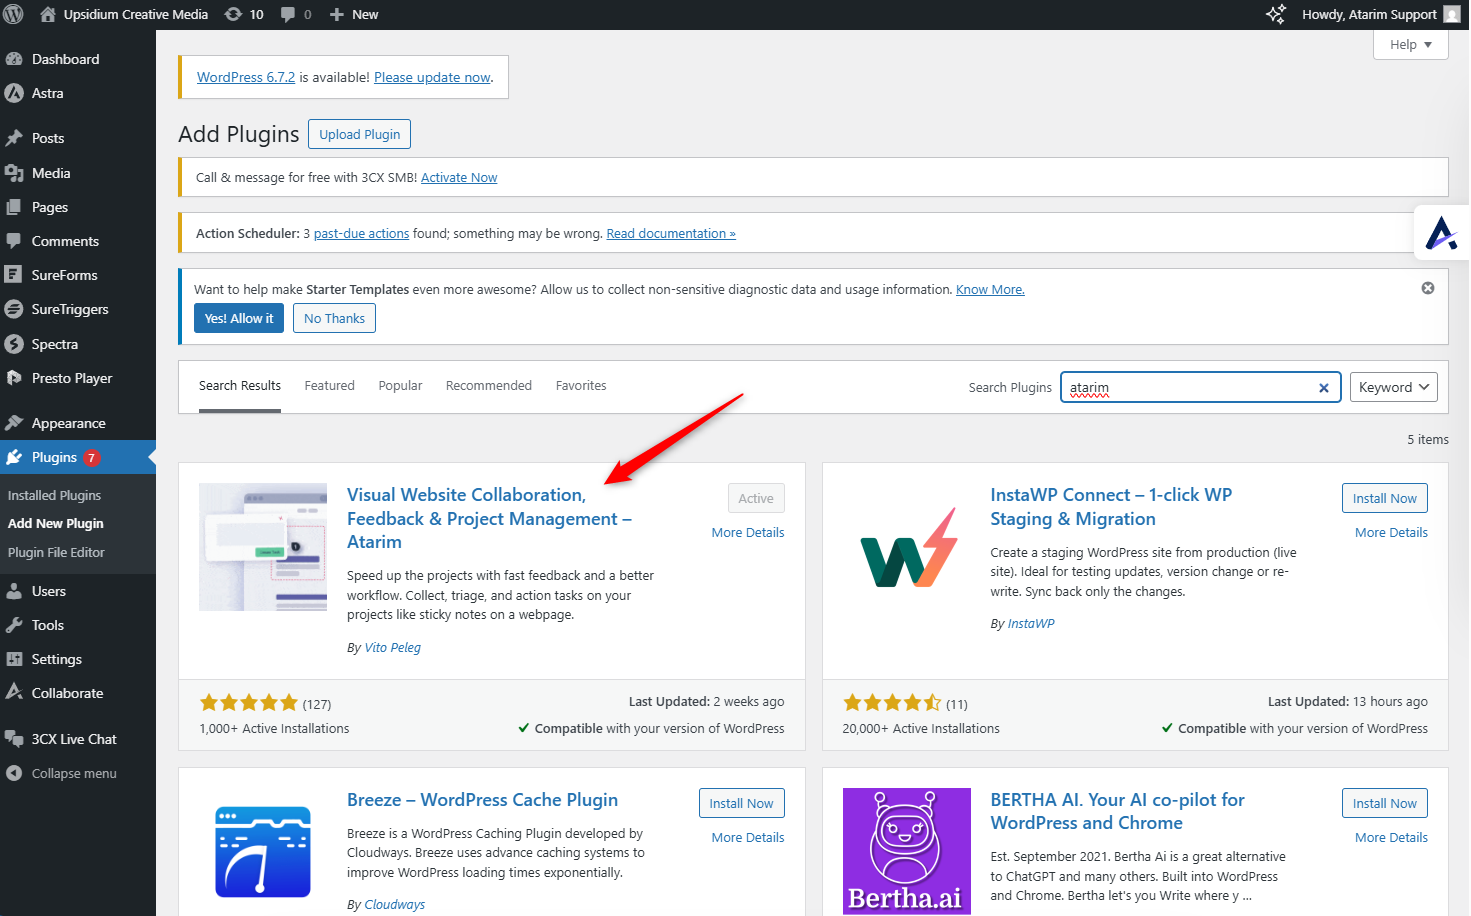
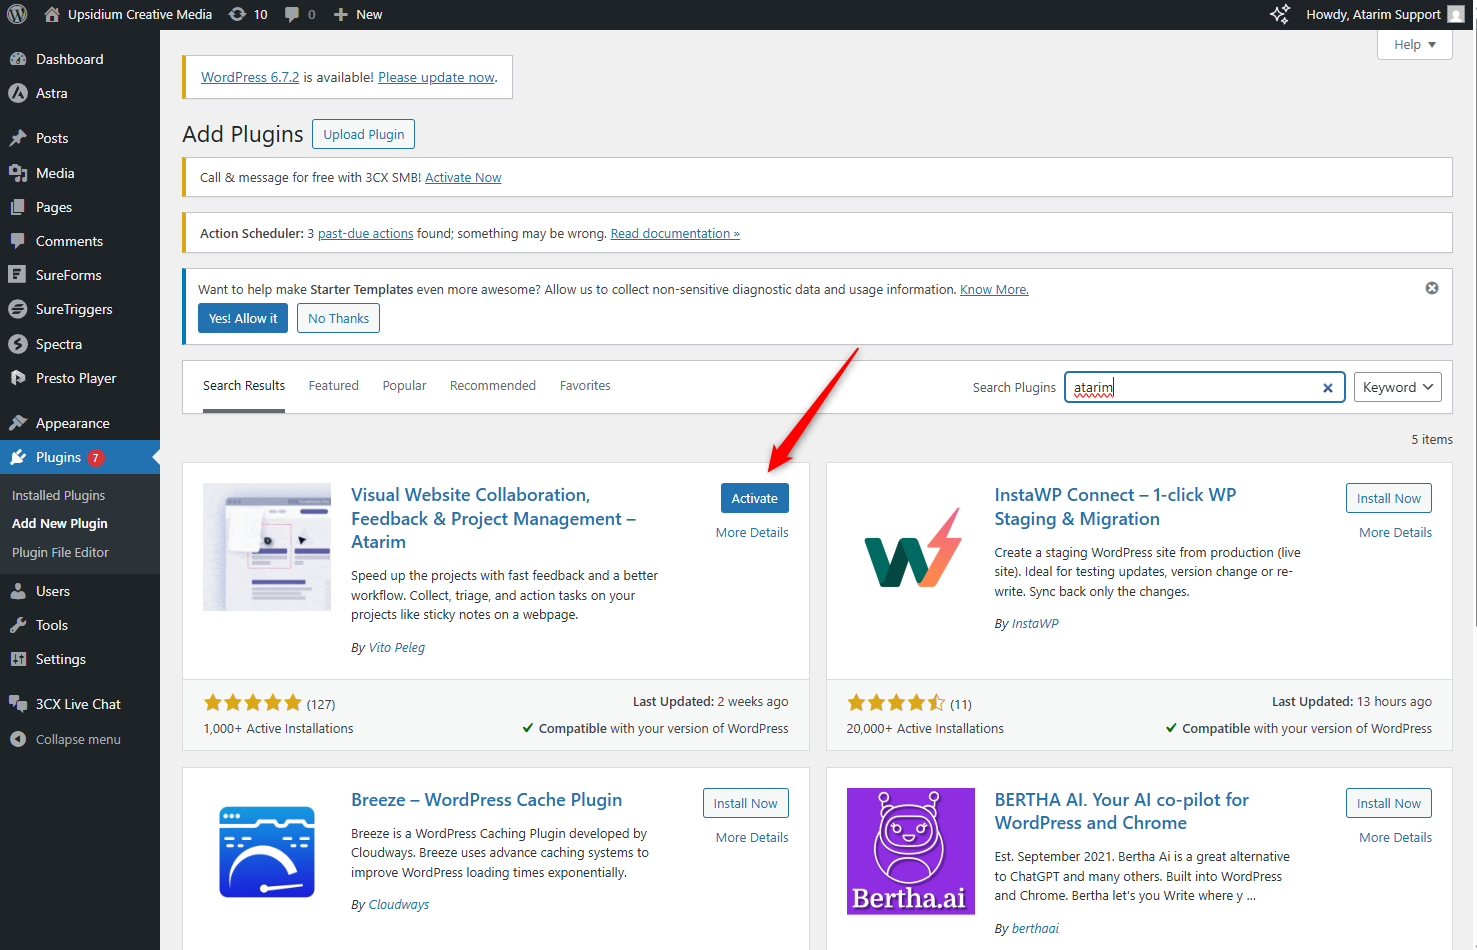
- In your WordPress admin panel, go to Plugins > Add New.
- Search for “Atarim”.
- Click Install Now on the correct plugin.
- Proceed to activation (next step).
Tip: Installing from the WordPress plugin repository is the fastest option if you haven’t downloaded it from your Atarim dashboard.
4. Activate the Atarim Plugin
Description:
Once installed, you’ll need to activate the plugin to begin connecting it to your Atarim dashboard.
Instructions:
- Click Activate after installation.
- You will see a notice prompting you to connect your website to Atarim.
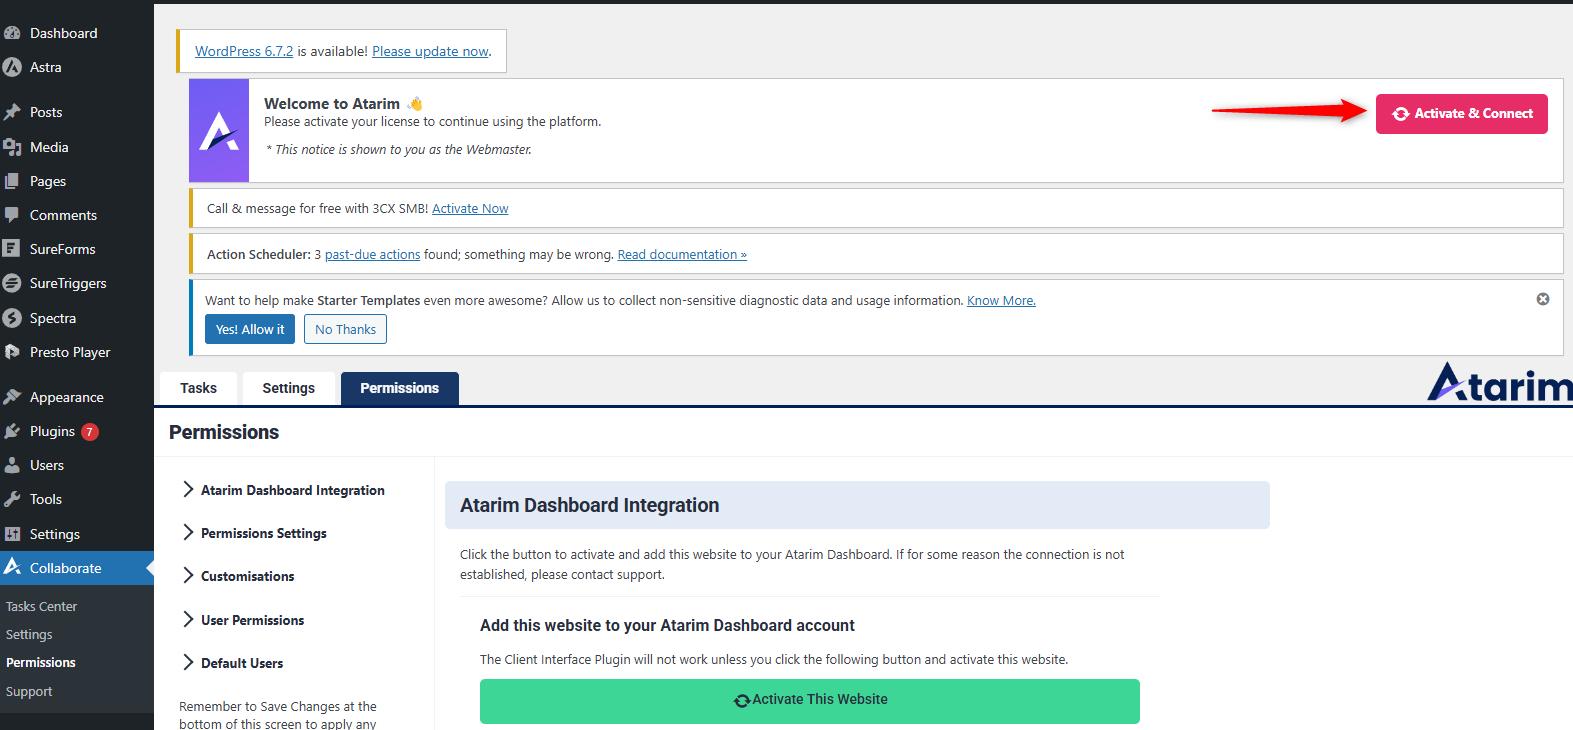
5. Click “Activate & Connect”
Description:
Start the connection process by clicking the “Activate & Connect” button.
Instructions:
- Click the Activate & Connect button on the prompt that appears after activation.
6. Confirm Activation and Connect to Your Atarim Account
Description:
Finalize the connection by logging in to your Atarim account or creating one if you’re new.
Instructions:
- On the next screen, click Activate This Website.
- You’ll be redirected to the Atarim login screen.
- Log in to your existing account or create a new one.
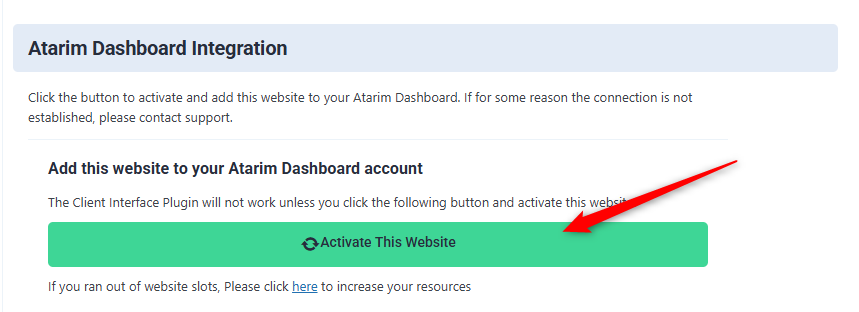
Note: In most cases, you’ll be redirected automatically to the login page. If not, click the activation prompt again to continue.
FAQs
Go to Atarim > Settings and verify the connection.
Yes! All tasks are automatically synced to your Atarim project.