Help
Search
Getting Started
Core Features
Managing Projects
Client Collaboration
Advanced Usage
Role-Specific Guides
Integrations
Tips, Tricks, and Best Practices
FAQs and Troubleshooting
Training and Learning
Dashboard
WordPress Plugin
Email Inbox
Accounts & Billing
Workflows
Enterprise
Pro
Business
Last Updated On 2025-05-21

Email Signature

Create a professional and branded email signature inside Atarim.

An email signature is a block of text that appears at the end of your emails. It can include your name, title, company, contact details, social media links, logos, images, or any other information you want to share with recipients. A well-crafted email signature enhances professionalism, promotes your brand, and builds credibility.

Atarim allows you to add an email signature to emails sent from inside the Dashboard. There are two ways to add a signature: using plain text formatting or HTML for a fully branded experience.

Relevant For

  • Project Managers

Prerequisites

Basic familiarity with Atarim’s Dashboard & Understanding of text formatting (bold, italics, lists, images).
  • An Atarim account with access to email settings.
  • A pre-designed HTML email signature (if using the HTML method).

Step-by-Step Guide

1. Adding a Signature Using Text

Description

A simple text-based email signature ensures a clean, professional look while keeping setup quick and easy. Atarim allows you to format text using bold, italics, lists, images, and alignment options.

Instructions

  1. Log into Atarim and navigate to your email settings.
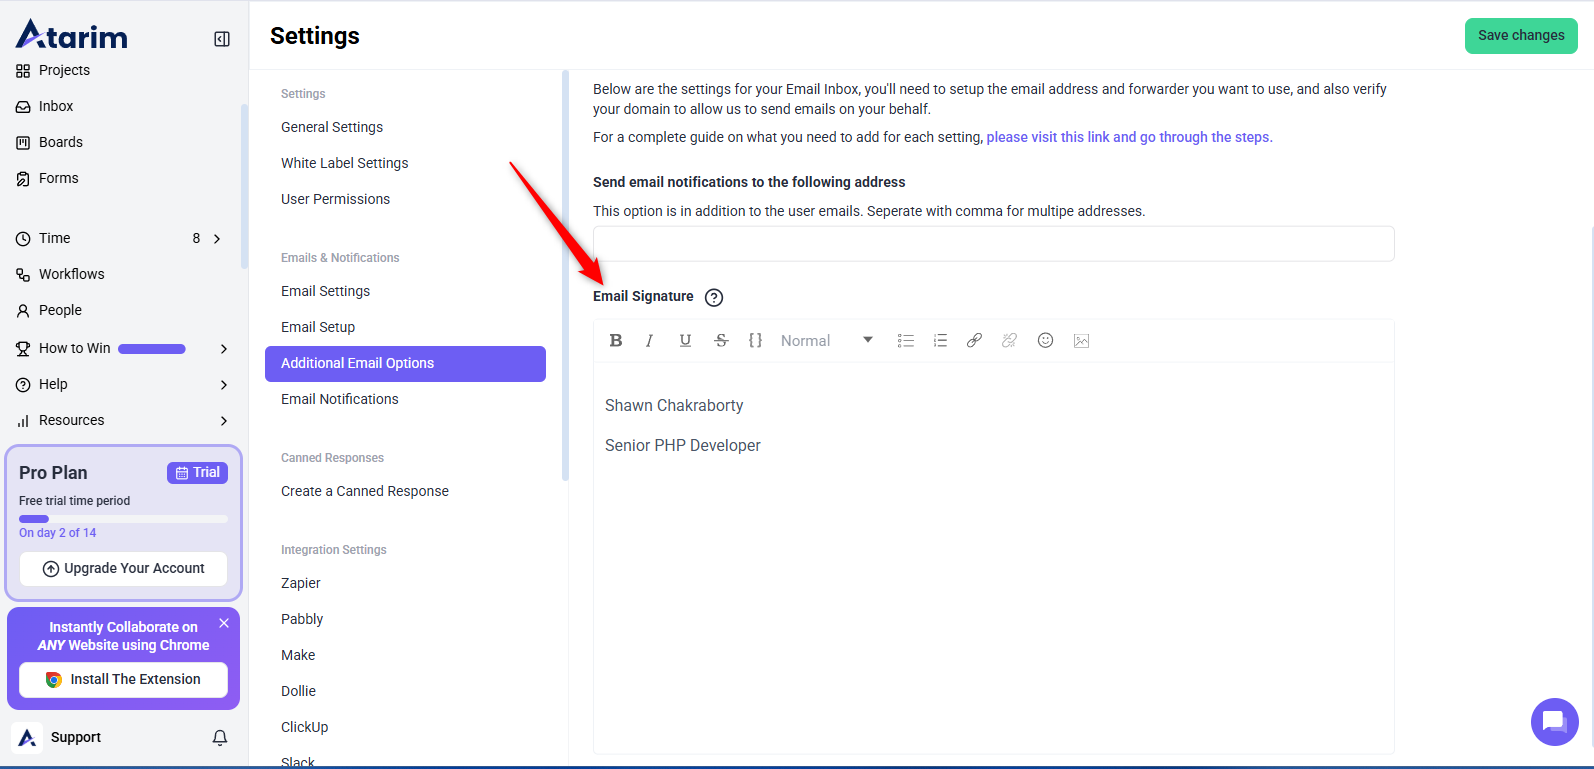
  2. Go to Settings and click on Additional Email Options to find the Email Signature section.
  3. Enter your signature details in the text editor.
  4. Use formatting options such as:
    • Bold for your name or company name.
    • Italics to emphasize a slogan or motto.
    • Lists to neatly organize contact details.
    • Add images for a company logo or personal photo.
    • Align text and images for a professional look.
  5. Click Save to apply your changes.
Additional Email Options
If you create an email signature as shown in the above example, it will look something like the following screenshot:

Tip: Make sure your email signature is not too long, keep it concise and easy to read.

2. Adding a Signature Using HTML

Description

For a more customized and fully branded email signature, Atarim allows you to use HTML. This gives you full control over the layout, fonts, colors, and images in your signature.

Instructions

  1. Click Save to apply your signature.
  2. Log into Atarim and go to the email settings.
  3. Locate the Email Signature section.
  4. Switch to the HTML Editor mode.
  5. Paste your pre-designed HTML signature.
  6. If needed, modify elements like images, colors, or links directly in the HTML code.
Here is how the above email signature will look at the receiver’s end:

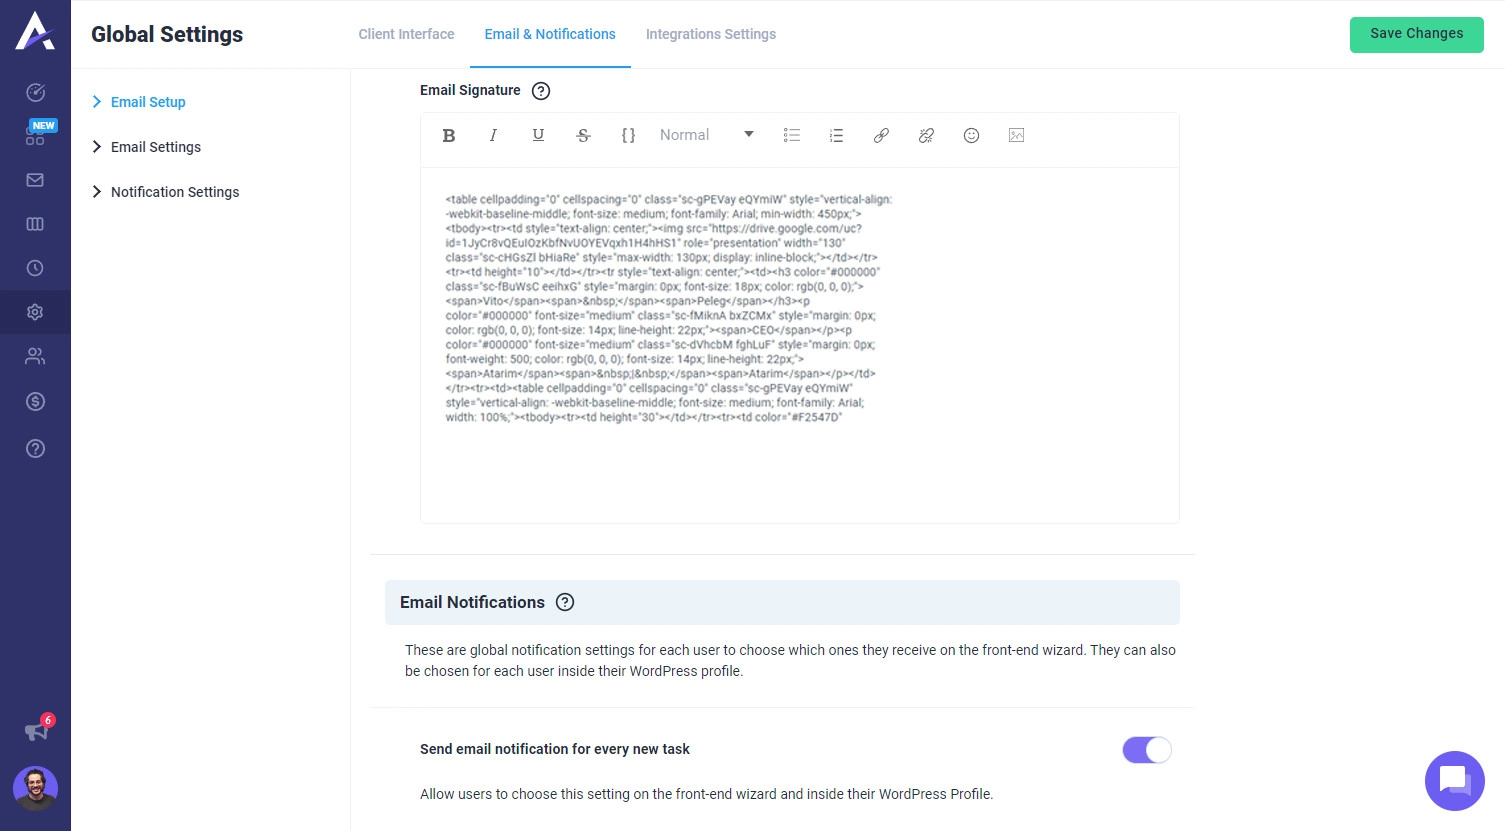
Tip: You can use the <table> tag to arrange your text and images in a grid-like structure, and then add it to your email client or service.

FAQs

Can I add a clickable logo to my email signature?

Yes, you can add an image in the text editor or use an HTML <img> tag with a hyperlink.

Will my email signature appear on all outgoing emails?

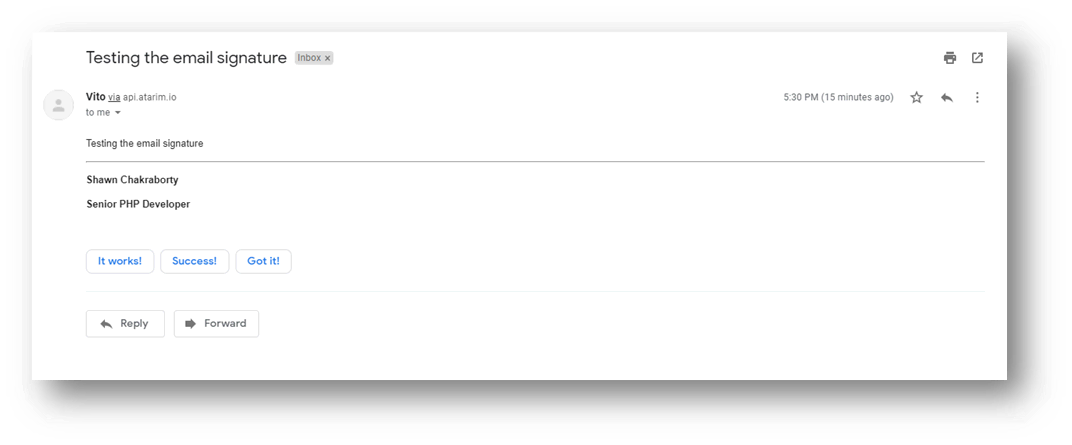
Yes, once saved, your signature will automatically be included in all emails sent from Atarim.

Currently, Atarim allows only one signature per user.

Currently, Atarim allows only one signature

Tips & Tricks

  • Keep it short & simple – Too much information can overwhelm the recipient.
  • Use a professional email-friendly font – Stick to web-safe fonts like Arial, Helvetica, or Times New Roman.
  • Optimize images – Large images may slow down email loading times.
  • Include social media links – Add clickable icons to LinkedIn, Twitter, or company pages.
  • Test your signature – Send a test email to ensure formatting appears correctly.

Summary

Adding an email signature in Atarim is a great way to create a consistent and professional brand image. Whether using a simple text format or a fully customized HTML version, you can ensure your emails leave a lasting impression.

Was This Helpful?

On This Page

    Add a header to begin generating the table of contents