Step-by-Step Guide
1. Adding Forms
Instructions:
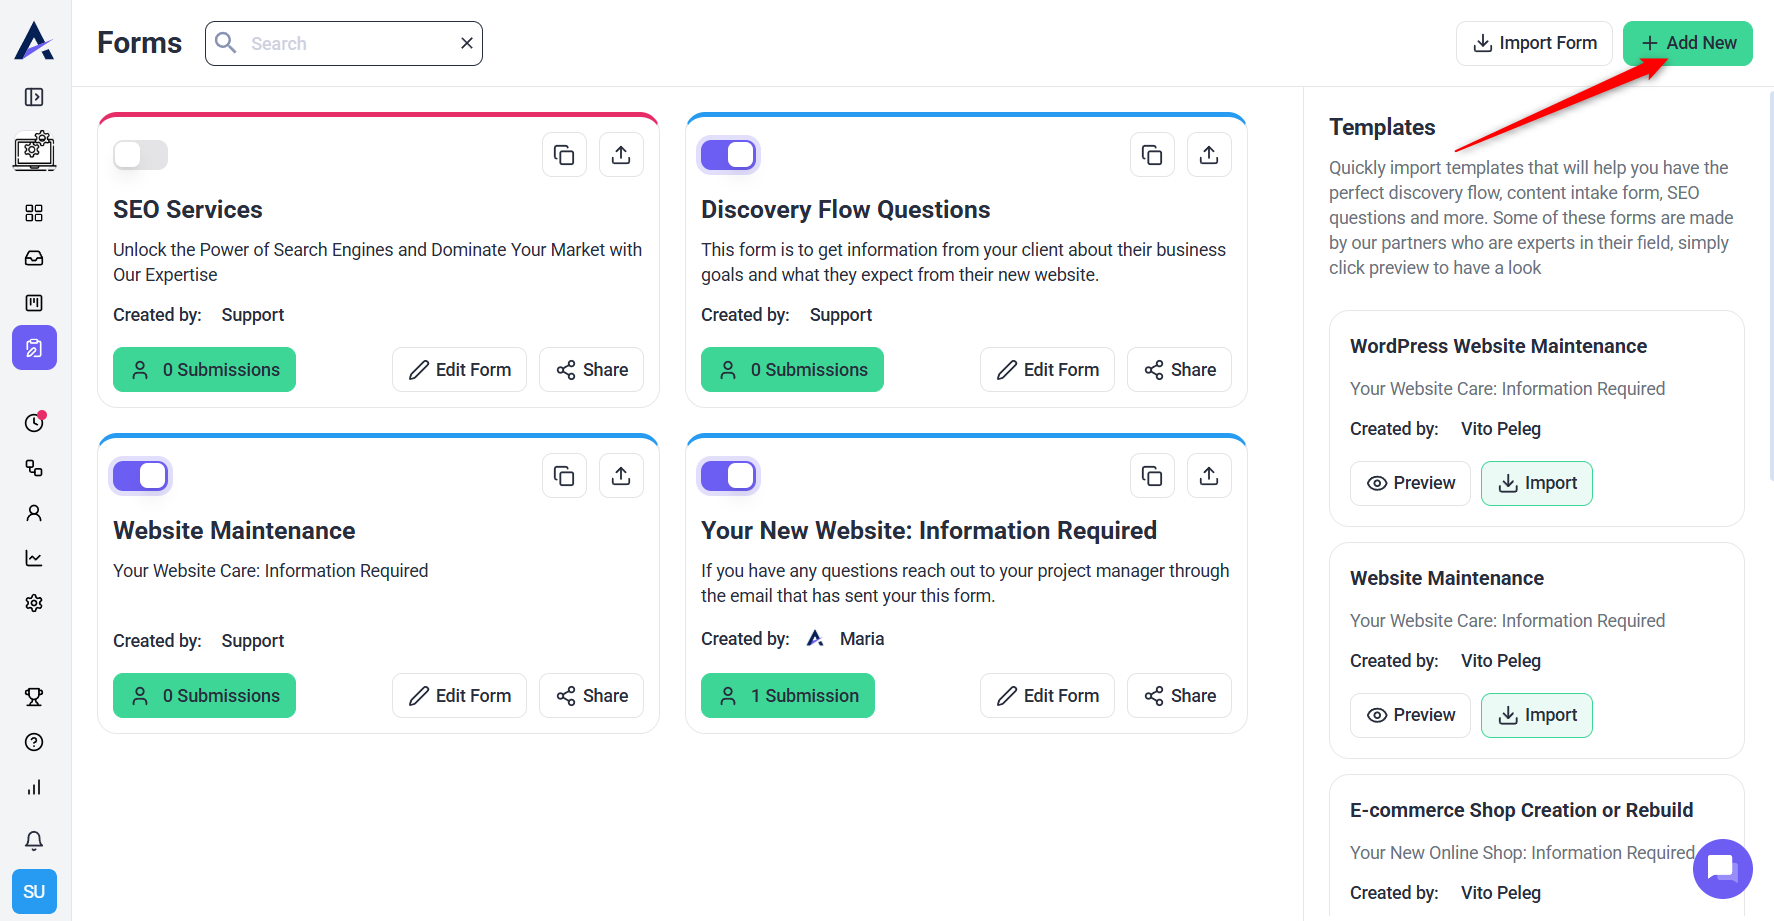
- Log in to your Atarim dashboard
- In the main menu, click on Forms
- Click on + Add New
- In the General tab, add a Title and Description
Note: You do not need an active project to create a form.
Tip: Give your form a clear, purposeful title—like “Bug Report – Client Site”—to help team members identify it quickly.
2. Adding Fields to a Form
When creating a form, Atarim provides you with a number of field and input types. These diverse field types offer flexibility in designing your form, enabling you to gather various types of information. Depending on the nature of your form, you can use these fields strategically to create a comprehensive and user-friendly data collection experience.
For example, use check-boxes for multiple selections, a file upload for document submission, or a signature field for authentication purposes. Tailor the properties of each field to suit the specific requirements of your form.
Instructions:
- From the left sidebar, click on any field type to add it to your form
- Once added, use the right-hand menu to configure the field’s properties
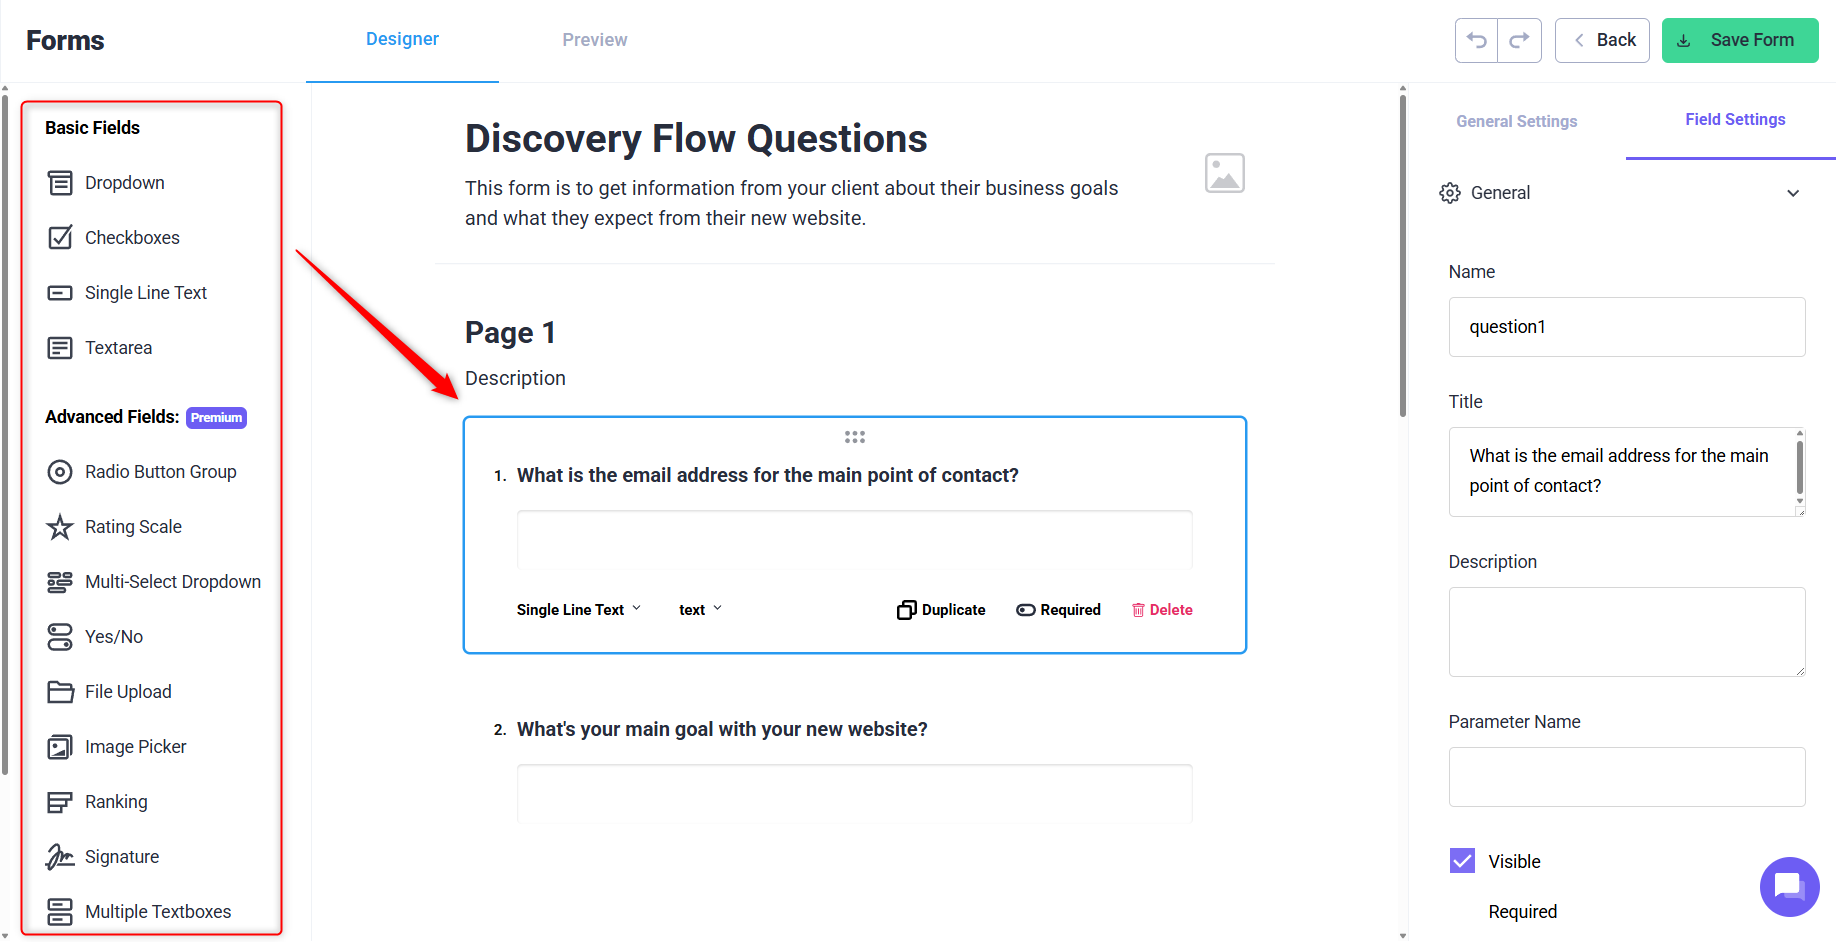
Field Properties Explained:
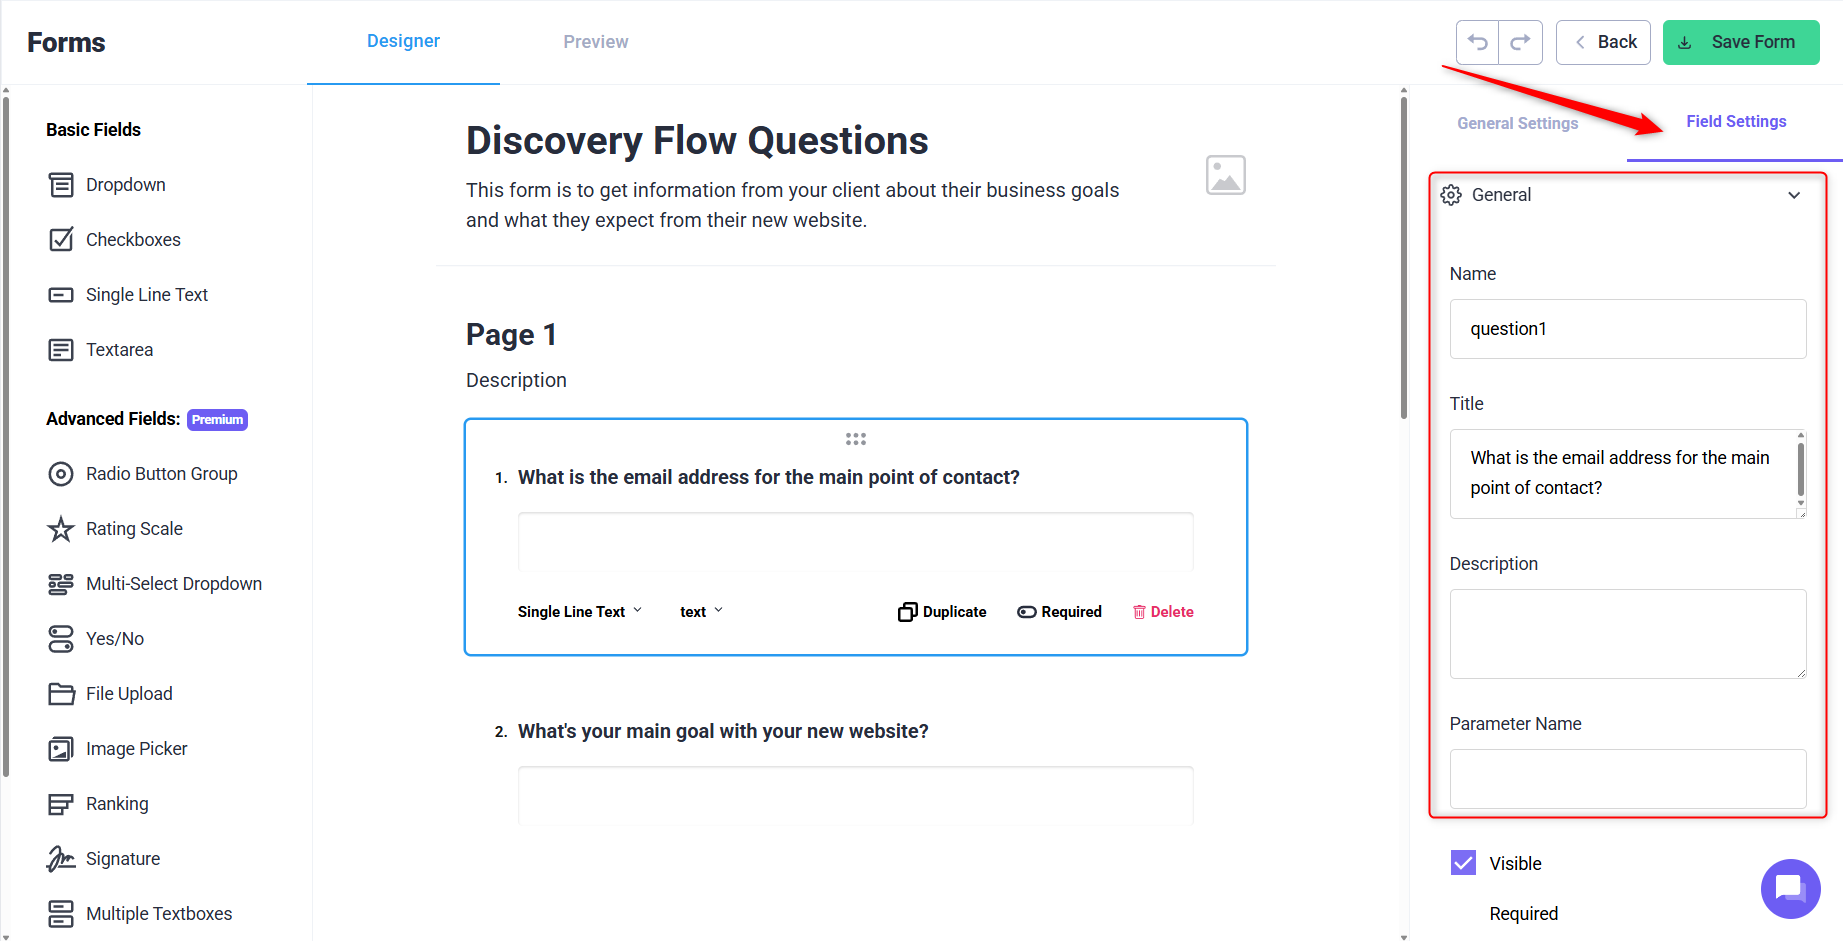
- Name: This is the internal identifier for the field within the form. It is not visible to the end-user filling out the form. It helps you reference and manage the field in the form editor and backend.
- Title: The title is the label or question that is presented to the end-user. It’s the text the customer sees and responds to while filling out the form.
- Description: The description is additional text below the question name that provides further context or instructions to the user regarding the specific field. It helps clarify the purpose of the question.
- Parameter: Parameters allow you to create dynamic submissions with query strings. This can be useful for linking or pre-filling certain fields based on parameters passed in the URL.
- Visible: Determines whether the field is visible to the end-user.
- Required: Indicates whether the field must be filled out before the form can be submitted. Marking a field as required ensures that essential information is collected.
- Read-Only: If set to “Read-Only,” the user can view the field but cannot modify its content. This is useful for displaying information that shouldn’t be altered by the user.
- Logic: Logic settings allow you to define conditions for showing or hiding the field based on the user’s responses to other fields. It adds a level of interactivity to the form based on user inputs.
- Validation: Validation rules ensure that the data entered into the field follows a specific format or meets certain criteria. For example, you can set a validation rule for an email field to ensure the input is a valid email address
Recommendation: Use Validation on fields like email or phone numbers to reduce entry errors and follow-up work.
3. Understanding Field Types
Here are the available field types and when to use them:
| Field Type | Use Case |
|---|---|
| Drop Down | Single selection from a list (e.g., country) |
| Check Box | Allow multiple selections |
| Single Line Text | Short input like name or email |
| Text Area | Longer inputs or descriptions |
| Radio Buttons | Choose one option from a small set |
| Rating Scale | Gather qualitative user feedback |
| Multi-Select Drop Down | Multiple selections from a long list |
| Yes/No (Boolean) | Binary decision-making |
| File Upload | Receive documents, images, or PDFs |
| Image Picker | Let users select visual choices |
| Ranking | Drag and drop to rank preferences |
| Signature | Capture a digital signature |
| Multiple Text Boxes | Collect grouped inputs (e.g., address fields) |
| Custom HTML | Embed custom elements, data, or maps |
| Custom Image | Display images without input |
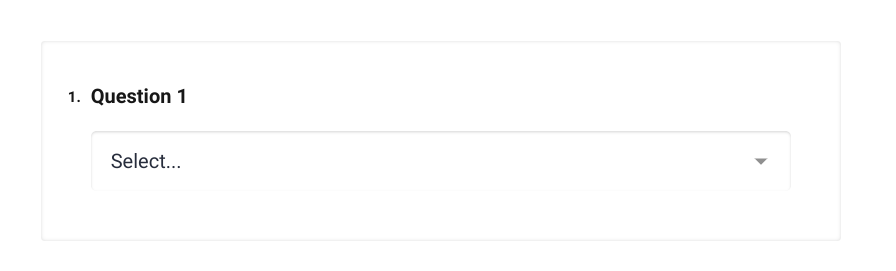
Drop Down
This option provides users with a list of options from which users are able to select a single choice. It is often preferred when displaying all the options at the same time is not necessary. For instance, you can use it to display a list of countries.
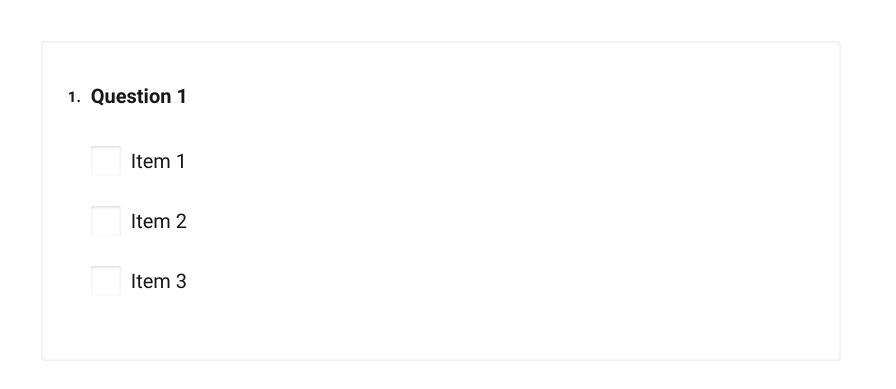
Check Box
This option allows users to select multiple options from a single list.
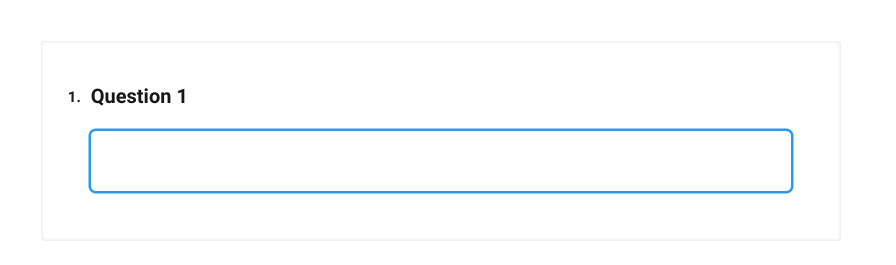
Single Line Text
You can use this field to create a short text input for brief responses such as name or email.
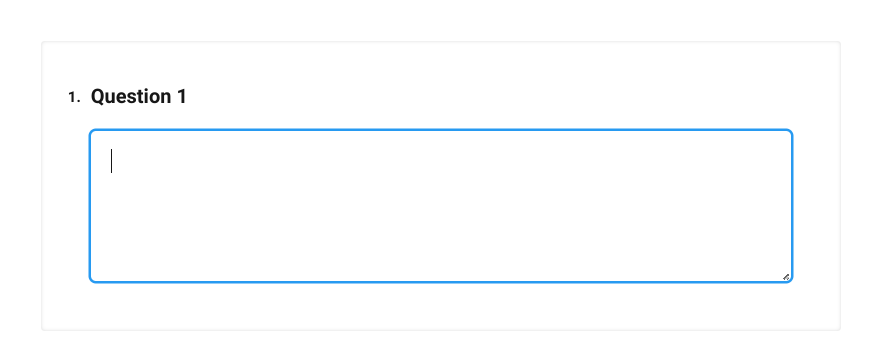
Text Area
This option creates a larger text input for longer responses.
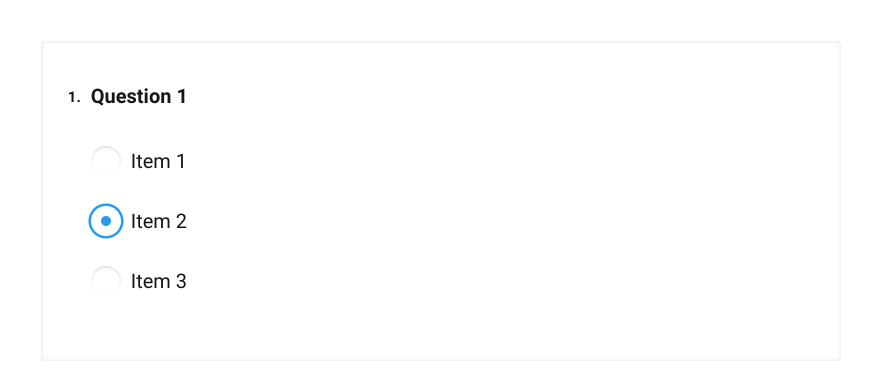
Radio Buttons
This option is similar to a drop-down, providing users with the ability to select one single option from a list of options. It is usually used when the list of options is small.
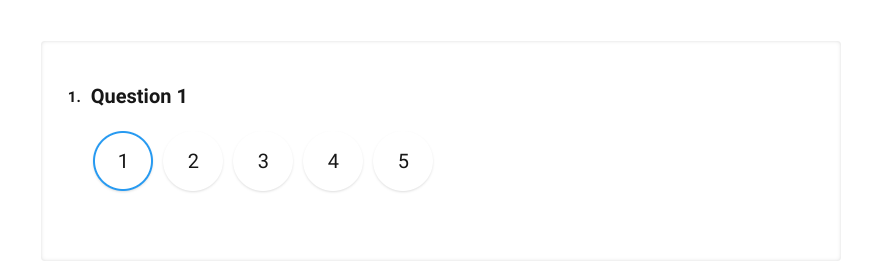
Rating Scale
This option provides you with the ability to ask users for a rating.
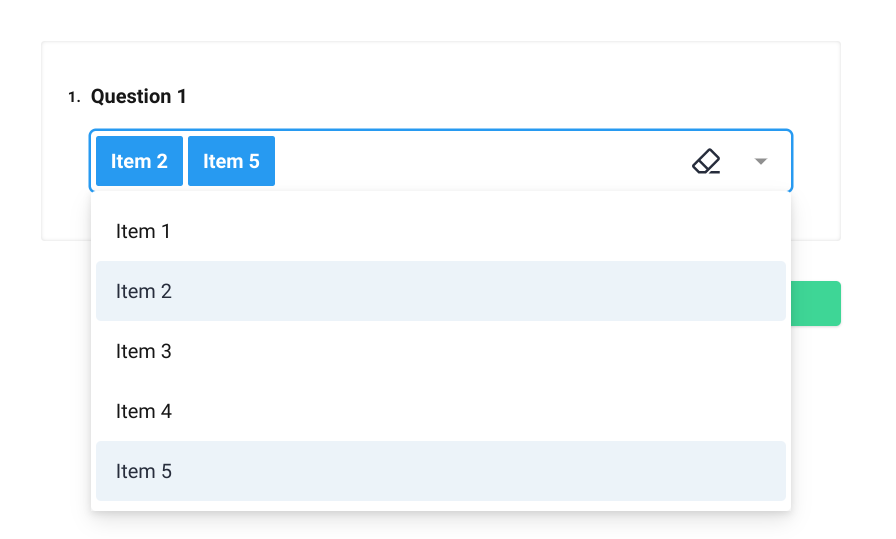
Multi-Select Drop Down
This option is similar to a normal Drop Down, but allows users to choose multiple options from a long list.
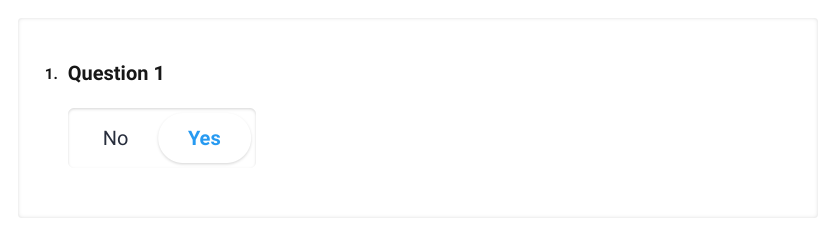
Yes/No
With Atarim, you can create forms that present users with a binary choice between “Yes” and “No.”
File Upload
When creating forms, you can ask users to upload files, such as documents or images. With this field, you have the option to provide a pre-defined list of file types that will be accepted for upload, and specify the maximum size of each file.

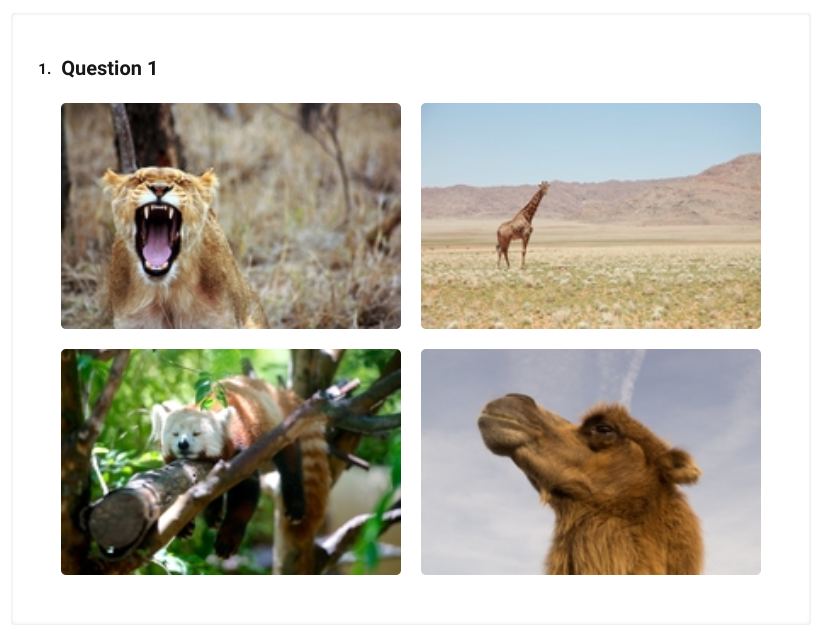
Image Picker
This option allows users to select either one or multiple images from a list of images that you provide while creating the form.
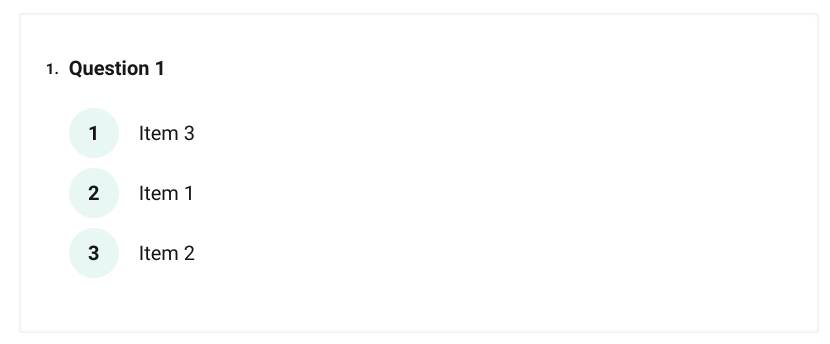
Ranking
This option will create a list of elements that users can drag and drop to rank items in order of preference.
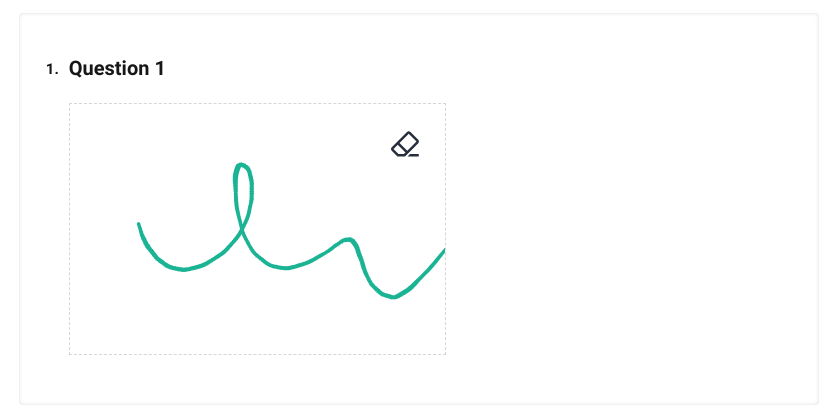
Signature
This is one of the features that makes Atarim forms stand out from the rest. You can use the signature field to create forms that ask users to draw their signature using a touch screen or mouse.
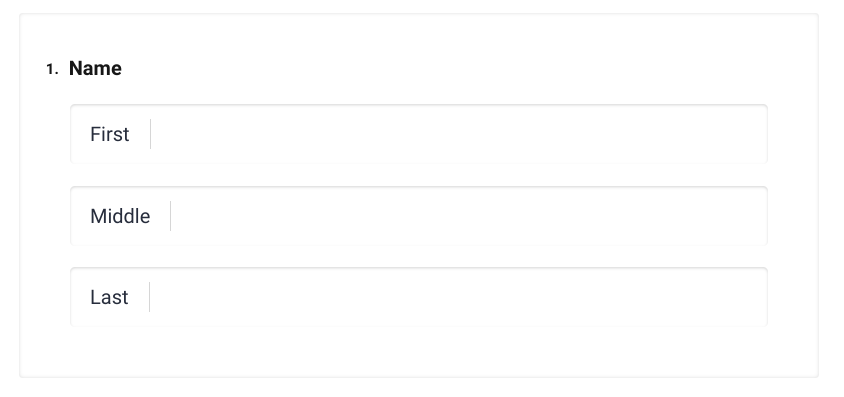
Multiple Text Boxes
This is another one of our innovative features that you won’t find anywhere else. Multiple Text boxes combine a number of text fields that are related, presenting users with a separate text input box for each different piece of information. For instance, you can use it for filling out names or addresses.
Custom HTML
Although we have provided a very diverse range of form field types, we understand that it is not possible to cover every single use case. Therefore, we provide the freedom to incorporate custom HTML code to add specific elements or styling to your forms.
This is arguably the most powerful option, as it allows you to create your own HTML code or embed website content. For instance, you can use this option to create HTML tables, present data using spreadsheets, embed a custom map, etc.

Note: Custom HTML is ideal for embedding third-party widgets or formatted content.
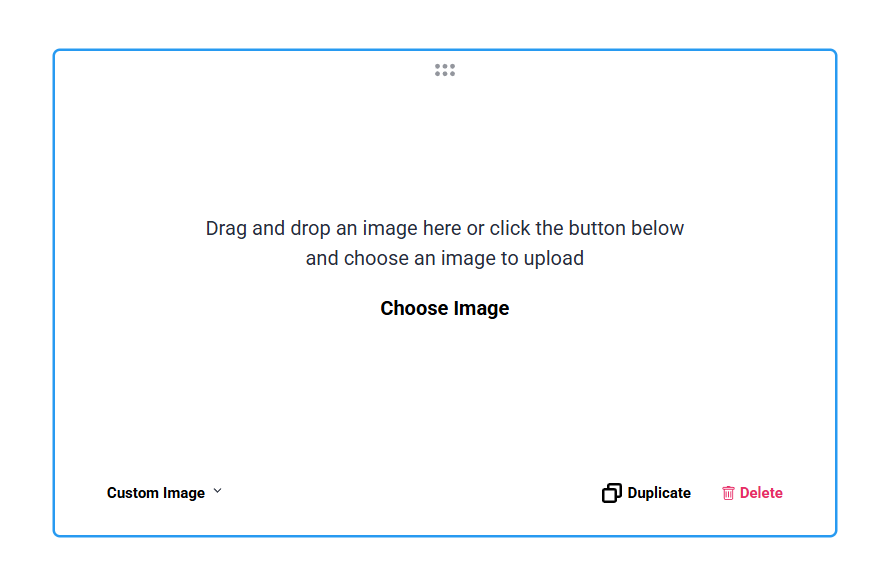
Custom Image
You can use this field to insert a custom image within the form. This option does not accept any input from the user, and should be used only when you need to present certain information to them.
Warning: Be cautious when pasting custom HTML. Errors may affect form rendering.
4. Other Form Settings
White Labeling:
Atarim forms offers a white labeling feature, allowing agencies to customize the appearance of their forms to match their own brand identity. White labeling helps create a seamless and branded experience for users interacting with the forms – from start to finish.
You can integrate your company’s logo directly into the form, reinforcing brand identity, as well as applying additional CSS styles to further customize the appearance of the form, ensuring it aligns with your brand’s visual guidelines.
Pages:
The “Pages” feature offers a convenient way to organize and structure your forms by dividing questions into different pages or sections. Each page acts as a distinct section of the form, helping to improve the form’s overall organization and user experience.
By using pages, you can logically group related questions together, making it easier for respondents to navigate through the form. For instance, you might group personal information on one page, preferences on another, and feedback on a separate page. This helps in breaking down a lengthy or complex form into more manageable sections, guiding users through a step-by-step process.
Form Completion Options:
The form completion process offers various options to guide users after submitting a form. Here are the key features:
- Navigate Users to Other URL: Upon form submission, you can redirect users to a specific URL. This is useful when you want users to proceed to a designated webpage, such as a thank-you page or a confirmation page.
- Show a Completion Message: Alternatively, you can display a completion message directly on the form. This is an effective way to convey gratitude, provide additional information, or inform users about the next steps once they’ve successfully submitted the form.
- Navigate Users to a Dynamic URL Based on Answers: For a personalized experience, Atarim allows you to dynamically redirect users to different URLs based on their answers. By leveraging conditional logic, you can define rules that determine the destination URL based on specific responses provided by the user.
The flexibility in configuring post-submission actions in Atarim ensures a tailored user experience
Timer Settings:
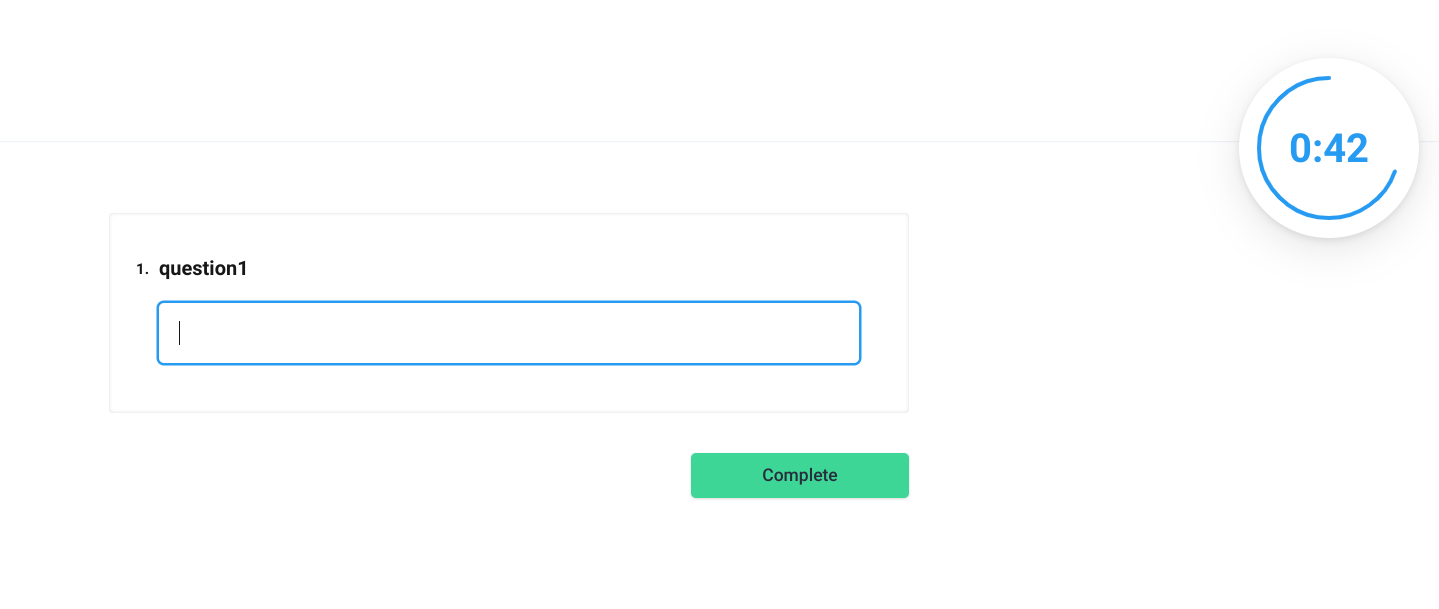
In Atarim forms, the “Timer” feature allows you to incorporate a countdown timer. There are two main options for configuring timers:
- Timer to Finish the Form: This option sets a global timer for the entire form. Users are provided with a countdown indicating the time remaining to complete the entire form. This helps in creating a sense of urgency, and can be useful for time-sensitive surveys or assessments.
- Timer to Finish One Page: When creating a form, you can choose to set a timer for individual pages within the form. This means that users will have a specified time limit to complete each page before moving on to the next.
Additionally, Atarim’s forms provide customization options for the timer’s location. You can choose to display the timer at the top, bottom, or opt not to show it at all. This flexibility allows you to align the timer’s visibility with your preferred form layout.
Recommendation: Use page timers for assessments or timed check-ins. This helps structure focus without overwhelming users.
5. Previewing and Saving the Form
Instructions:
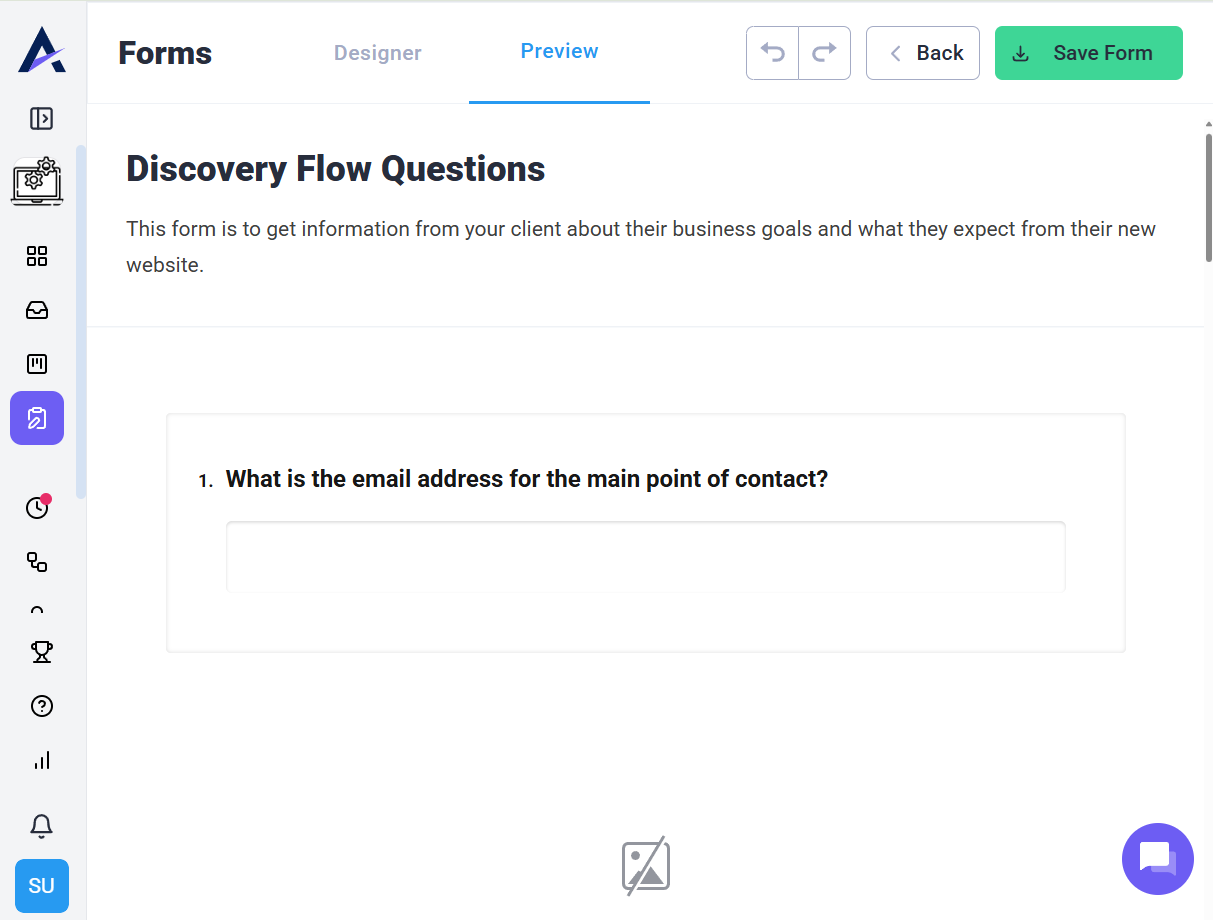
- Click the Preview tab to test your form
- Review structure, logic, and styling
- Click Save Form to publish it
Tip: Use preview mode to test conditional logic and field validations before sharing the form publicly.
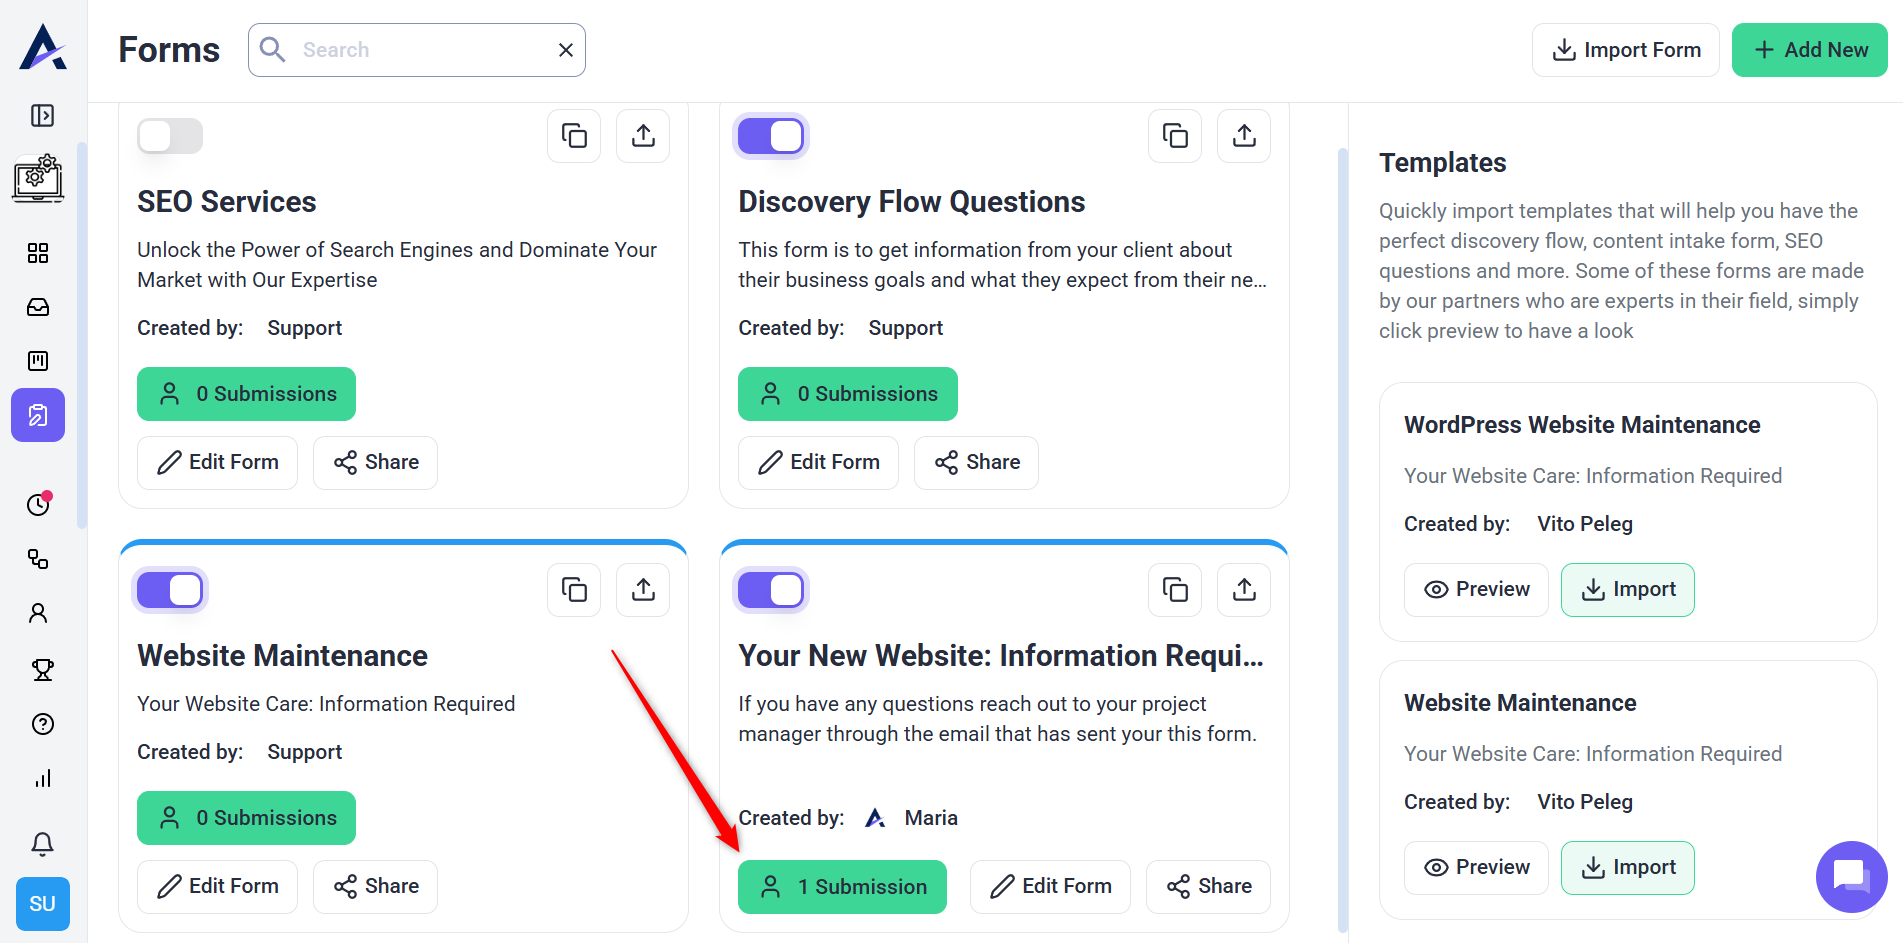
6. Sharing and Filling Out the Form
Instructions:
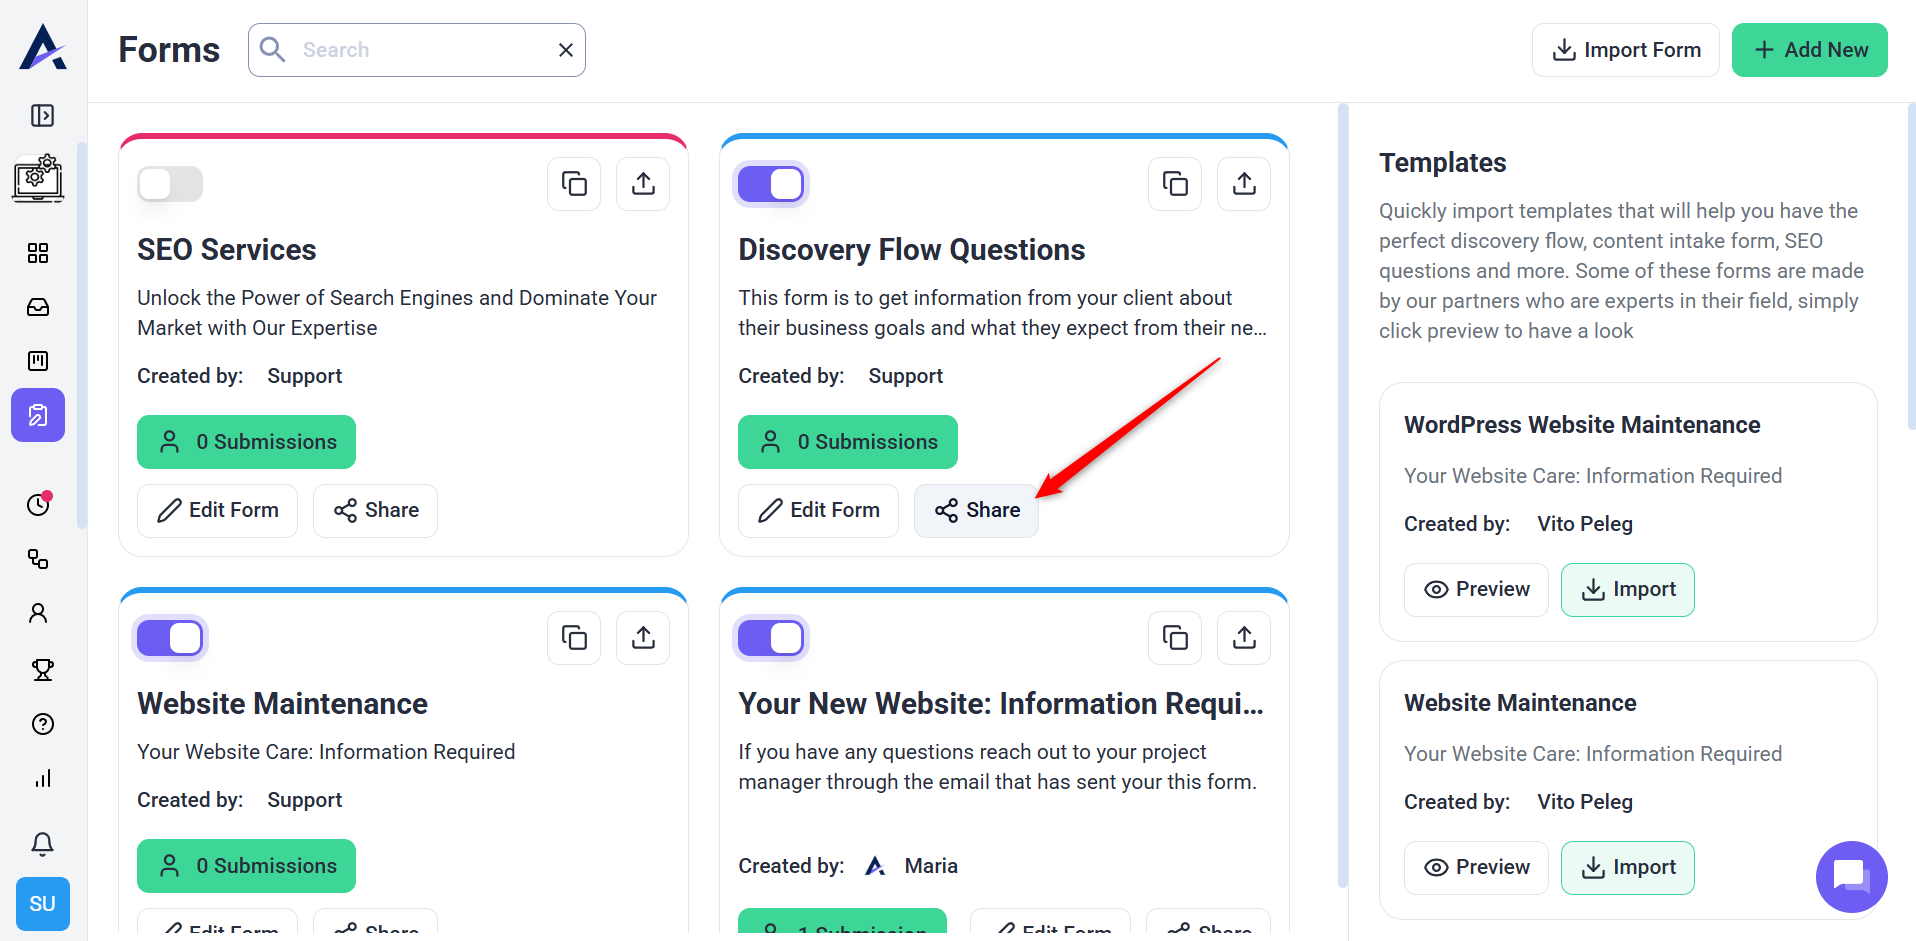
- Go to the Forms tab
- Click Share on the desired form
- Paste the copied URL into your browser to open it
- Fill in the form and click Submit
7. Viewing Submissions
Instructions:
- In the Forms Dashboard, click on Submissions
- View a list of submission entries with basic info
- Click View to see full details of a specific entry
Tip: Encourage team leads to check submission timestamps to ensure timely responses and follow-ups.
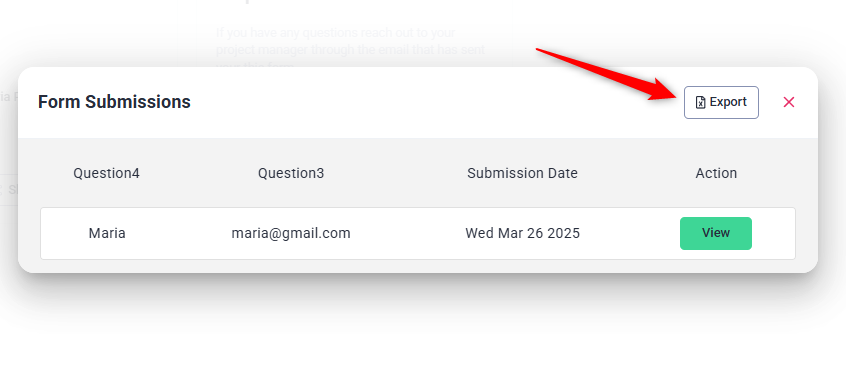
8. Exporting Submissions
Instructions:
- Open the form’s Submissions page
- Click Export
- Choose Excel or CSV format to download
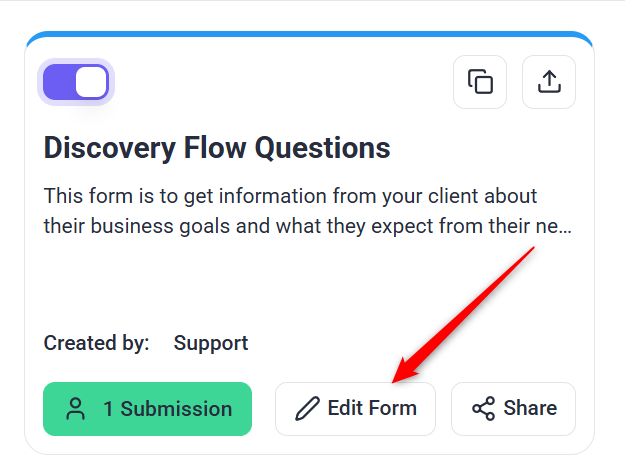
9. Editing a Form
Instructions:
- From the Forms list, click Edit next to the desired form
- Make the necessary updates
- Save changes to republish the updated version
Note: Edits apply to all future uses of the form. Existing submissions are unaffected.
10. Importing and Exporting Forms
Exporting a Form:
- From the Forms dashboard, click Export on a form
- A .json file will be downloaded with all form settings
Importing a Form:
- Click Import from the Forms dashboard
- Upload a .json file
- The form will appear in your list with full structure retained

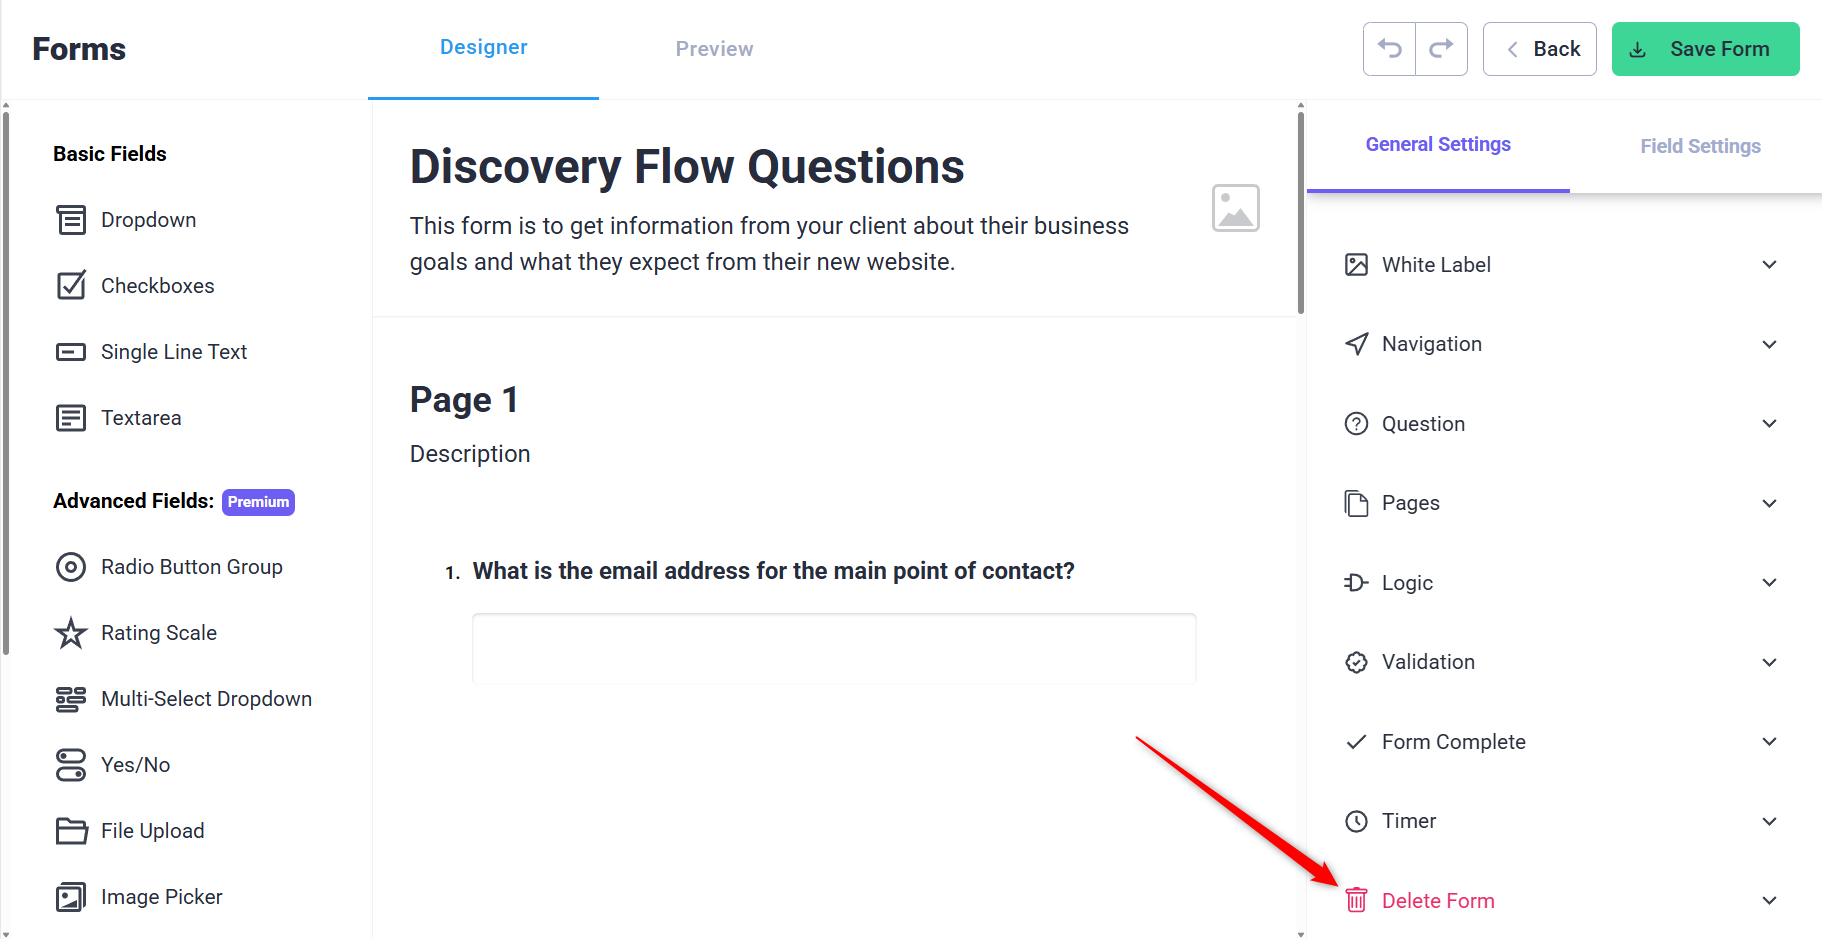
11. Deleting a Form
Instructions:
- Open the form editor
- Scroll to the bottom of the right-hand menu
- Click Delete Form
- Confirm deletion in the pop-up dialog
Warning: Deleted forms and their submissions cannot be recovered. Export data first if needed.
FAQs
Atarim Forms allow you to create discovery surveys to collect project details, feedback, or approvals from clients and stakeholders.
No, you can create and share a form independently of any project.
Yes! Atarim Forms help you centralize project data without needing external tools.